Showing posts with label vegan. Show all posts

Tuesday, November 5, 2013

Apple Pie Tartlets a la Mode (Gluten-Free, Vegan)

Hoosband does not give compliments frivolously. If he thinks something is only so-so, it's not getting the Hoosband thumbs up. 

While his honesty is something I treasure, I'm always a little apprehensive to share my healthier creations with him, especially when they're inspired by the traditional version of something he loves. 

So when he came to the table with one of my Apple Pie Tartlets and a scoop of Coconut Milk "Ice Cream," after dinner the other day, I braced myself for the critique. 

"Wow. These are good," he said, taking another bite. "Really good. . . .  How healthy are they?"

"Healthier than anything else you're likely to enjoy this much," I told him. 

I'll be straight with you: This is not a low-calorie dessert. But more-importantly, it is not an empty-calorie dessert.

Packed with protein, fiber, and healthy fats (not to mention vitamins and minerals), this delicious riff on the all-American dessert delivers serious apple flavor and decadence in a perfectly portion-controlled package.

And this time of year, with the hustle and bustle and endless to-do-lists of the holidays, you might also appreciate that these sweet treats take a fraction of the time and effort of an actual apple pie. They're also make-ahead and no-bake, freeing up coveted oven space on the days before the big meal. 

Want to get your kids involved in the cooking process? My two-year old loves helping me push the buttons on the food processor, blender, and ice-cream maker. She can even help press the crust mixture into the muffin liners to form the tartlet shells. She's also pretty good at quality control along the way.  :)

Finally, if you or anyone on your guest list has a sensitivity to gluten, grains, eggs, or dairy, this is one dessert that gets the green-light. And with the Hoosband seal of approval, there's a good chance it'll get the thumbs up from the apple-pie purists in your home, too. 


Apple Pie Tartlets

for the crust:
2/3 cups raw, unsalted cashews
1 cup raw, unsalted walnuts
1/4 tsp ground cinnamon or cassia (Saigon cinnamon)
1/4 tsp fine-grain salt
2 T coconut palm sugar (or brown sugar)
2 T coconut oil

Line six cups of a large or regular-sized muffin pan with muffin liners. Set aside.

Place the cashews, walnuts, cinnamon, salt, and coconut palm sugar in a food processor, and pulse or process until the mixture is very finely ground, like coarse sand, pausing to scrape down the sides and lid as necessary. Make sure not to over-process, which would lead to making nut butter. Add the coconut oil, and process just until the mixture is evenly moistened and sticks together easily when you pinch a clump between your fingers.

Divide the mixture evenly among the prepared muffin liners. Press the mixture firmly into the bottoms and up the sides of the liners, making tartlet shells. Chill the shells in the fridge while you prepare the filling.

for the filling:
3 oz dried (dehydrated, not freeze-dried) apples, unsweetened and unsulphured
2/3 cup raw, unsalted walnuts
1/3 cup pure maple syrup
2 T coconut oil
1.2 tsp fine-grain salt
3/4 tsp ground cinnamon or cassia (Saigon cinnamon)

Rinse out and pat dry the processor bowl, blade, and lid. Place the dried apple pieces in the processor and pulse or process until all the pieces are approximately the size of rolled oats. Remove one cup of the apple pieces and set aside, leaving the remaining pieces in the processor. Add the walnuts to the processor and process until the mixture looks like a scrappy nut butter, pausing to scrape down the sides and lid as necessary. Add the remaining filling ingredients and process until completely smooth, pausing to scrape down the sides and lid as necessary. The mixture will look somewhat like a very thick caramel. Stir the reserved apple pieces into the filling mixture.

The mixture will be very dense and sticky. Use a spoon lightly greased with coconut oil to evenly divide the mixture among the prepared cups and gently spread it out in each one. Chill the tartlets in the refrigerator for at least one hour or until ready to eat.


Tartlets will last for a week, stored in airtight container in the fridge. They're actually even better after a couple of days!

Serve with Coconut Milk "Ice Cream," recipe follows.


Coconut Milk "Ice Cream"
1 can full-fat coconut milk (do not use "lite" or reduced fat versions)
1/4 cup pure maple syrup
8 dried, pitted dates
1/4-1/2 tsp fine-grain salt
1 vanilla bean

If using an ice-cream maker with a freezable canister, freeze the canister for 24 hours or longer for best results.

Place the coconut milk, syrup, dates, and salt in a heavy-duty blender. Use a paring knife to split the vanilla bean lengthwise. Use the dull side of the knife to scrape the tiny beans out of the pod, and add the beans to the other ingredients in the blender.

With the lid secured, blend the ingredients on high until the mixture is completely smooth. The mixture will likely be quite warm from the friction of the blades. Transfer the mixture to a metal bowl (metal will allow the mixture to cool more quickly than plastic or glass). Cover with plastic wrap and chill in the refrigerator at least one hour--never add a warm ice-cream base to your ice-cream maker!

Freeze the ice cream according to the directions of your machine. If using a Cuisinart machine like this one, first set up the base, then get the canister out of the freezer and set it on the base. Place the scraper in the canister, place the plastic cover over the canister, turn the machine on, and, finally, get the chilled base out of the fridge and pour it into the canister. Right now you're probably thinking, "duh," but trust me, this process is important to get the best results.

When the mixture first starts to freeze, it will look very lumpy and grainy. Do not fear. By the time it is done, it should look smooth and creamy. You will know it is done freezing when it seems to all cling to the scraper in one big mass. Transfer the ice cream into a 12-oz plastic container with a tight-fitting lid, and place in the freezer for at least four hours or until ready to serve. Once completely frozen, the ice cream will be very firm and will benefit from sitting out on the counter for a minute or two for easier scooping.


Makes approximately 8 (1 1/2-oz) or 6 (2-oz) servings.

If you enjoyed this post, you might also like these:

Pecan Pie Tartlets

Amazing Pumpkin Tartlets

Macadamia Coconut Lime Tartlets

Chocolate, Pistachio, and Mascarpone Tartlets

Vegan Berry Tartlets

Thanks for reading! Here's to Being the Secret Ingredient in your life.

Friday, October 18, 2013

Paleo Pecan Pie Tartlets


Newton's first law teaches us that an object in motion will stay in motion until pushed or pulled by an outside force.

Well, I guess you could say nothing's been pushing or pulling, because tartlets remain on a roll around here.

With fall breezes blowing all around and what I consider a pretty decent nod to pumpkin pie in the last post, a pecan-pie-inspired tartlet was the natural next step.

The crust is cashew-heavy to achieve the rich, buttery quality of a traditional pecan pie, while the filling employs dates for their sticky texture and super-sweet, brown-sugar-like flavor. Vanilla is a new addition in this tartlet, and of course, pecans are the star.

I played around with configurations of pecan halves and pieces (from purely pieces to three-to-six halves with pieces to fill the gaps), and I think I like this look the best:


If, however, you plan to cut the tartlets before serving, you may wish to go with purely pieces for easier slicing.


Whatever aesthetic you choose, I hope these tartlets make you fall for fall over and over again.


Pecan Pie Tartlets

for the crust:
1/4 cup chopped, raw, unsalted pecans
2/3 cup raw, unsalted cashews
2 T coconut palm sugar
1/4 tsp fine salt
2 T coconut oil

for the filling:
1/4 cup chopped, raw, unsalted pecans
20 pitted dates
1 tsp pure vanilla extract
1/2 tsp fine salt
3 T coconut oil
3 T water

for garnish:
1 cup raw, unsalted pecan halves (and/or pieces)

Place muffin liners in each of six large muffin cups. I use regular-sized muffin liners in large cups--the larger cups allow the liners to lay out a little wider. If you do not have a large-cup muffin pan, just use six cups in a standard-size muffin pan.

Place all the crust ingredients except for the coconut oil in the food processor and pulse until the pieces are almost uniform in size and the mixture resembles very coarse sand. If you have a food processor with nested work bowls, use the smaller of the two.


 Add the 2 tablespoons of coconut oil and pulse until the mixture resembles moist sand. Divide the mixture evenly among the six prepared muffin cups, firmly pressing the mixture into the bottoms and up the sides to form mini tart shells. 

 Chill the crusts in the refrigerator while you prepare the filling.

Rinse out and pat dry the food processor bowl, blade, and lid. Add all the filling ingredients to the processor bowl except for the water. Turn the processor on, and pour one tablespoon of water into the shoot on the top (the insert should be in place so that the water slowly drips out of the hole in the bottom). When the water appears to be gone, turn off the processor and scrape down the sides and lid. Repeat this process with each of the remaining tablespoons of water. Continue to process the mixture until it is completely smooth.


Use a greased spoon (just dip it quickly in liquid coconut oil and shake off the excess) to evenly divide the filling among the prepared crusts and to gently spread it out in each one--the filling will be very dense and sticky.


Arrange pecan halves and/or pieces on each tartlet, pressing gently to adhere the pecans to the filling. 


Chill the tartlets in the refrigerator for at least 30 minutes, right up until serving. 

The tartlets can be stored in airtight containers in the fridge for up to one week. Makes six tartlets.


Thanks for reading! Here's to Being the Secret Ingredient in your life.


Friday, April 19, 2013

Whipped Coconut Cream


The Setting: A gloomily overcast day, complete with severe weather warnings. Here's hoping the storms stay away!

The Soundtrack: Educational programming on PBS. Why was this not my go-to for TV-time all along?

Steaming up the Oven: Nothing in the oven, but there's Vietnamese Chicken Salad, a la Hot Sour Salty Sweet in the fridge!

The Scenario: I've been working on a post about a composed dessert that involves whipped coconut cream. As I've been writing and editing and amending and basically creating an appendix-worth of notes just on the whipped cream section, I had to switch gears and make this a post of its own--composed dessert to come tomorrow.

Please forgive the long-winded post--it's been a bit of a journey.

So I don't know if I've mentioned it, but in January I discovered I'm lactose intolerant. I guess it was sort of a latent situation. I've never been much of a milk drinker, and you kind of expect to get sick when you eat a whole container of ice cream, so I never thought much about it. Then in December I started getting these terrible stomach pains (I'd been chowing down pretty aggressively on my toddler's string cheese and adding skim lattes back to the diet after a year-and-a-half hiatus from my green-and-white-cup addiction), and the doctor told me to cut out dairy.

I was bummed. Fortunately, my favorite aged cheeses were pretty much lactose free (most of the milk's lactose is converted into lactic acid in the cheese-making/aging process), but certain cheeses, butter, ice cream, and whipped cream were solidly in the danger zone.

Cutting back on plain milk wasn't an issue. I'd been using almond or coconut milk in my cereal for years, and I'd often replace butter with coconut oil. But what use in place of whipped cream?

I'd been thinking about experimenting with some combination of coconut milk and coconut oil (for added fat content), but suddenly, with perfect timing, I started seeing multiple references on Pinterest to what appeared to be the whipped coconut cream of my dreams.

The instructions all seemed fairly straightforward: scoop off the solidified fatty layer from the top of a can of coconut milk, add sweetener and flavorings, and whip.

Of course! I had gotten so used to using the coconut milk that comes in a milk carton that I had completely forgotten the canned version has a convenient cream layer just begging to be whipped! It was the answer to my problem--in theory.

In practice, however, it wasn't quite so dreamy.

You may have seen my reference to my first whipped-coconut-cream attempt in my No-Bake Irish Cream Cheesecakes post. I got the stuff to whip up only after adding dairy cream to the mixture and switching from my beloved electric whisk to the good-old manual method and an extra dose of elbow grease. At the time I credited the addition of dairy cream for my eventual success at achieving those covet-worthy peaks, but it turns out the method of whipping made the difference.

I learned this lesson in my second attempt. This time I employed the electric stand mixer. At first it looked like soft peaks were seconds away. The mixture seemed to be taking in air and getting ever-so-slightly more voluminous--and then it separated into liquid and clumps. Suddenly and without warning, I had a curdled mess.

Unwilling to concede defeat, I dumped the mixture into the blender and blitzed it back into a homogeneous substance. Now it just looked like milk. I poured it into a Tupperware container and put it in time out (in the fridge) for bad behavior.

A few hours later I shrugged my shoulders, removed the mixture from the fridge, transferred it to a large, metal mixing bowl, and got out the old trusty whisk. Within a minute or two of hand-whipping and sheer determination, I had this:


It was exquisite.

Feeling like I had landed on perfection like Dorothy landing on the Wicked Witch of the East (happy to be out of the storm, but not quite sure I could write a travel guide on how to get from Kansas to Oz), I knew I had to try this whole thing one more time and attempt to streamline the process.

So here, at long last, are my pointers for success:

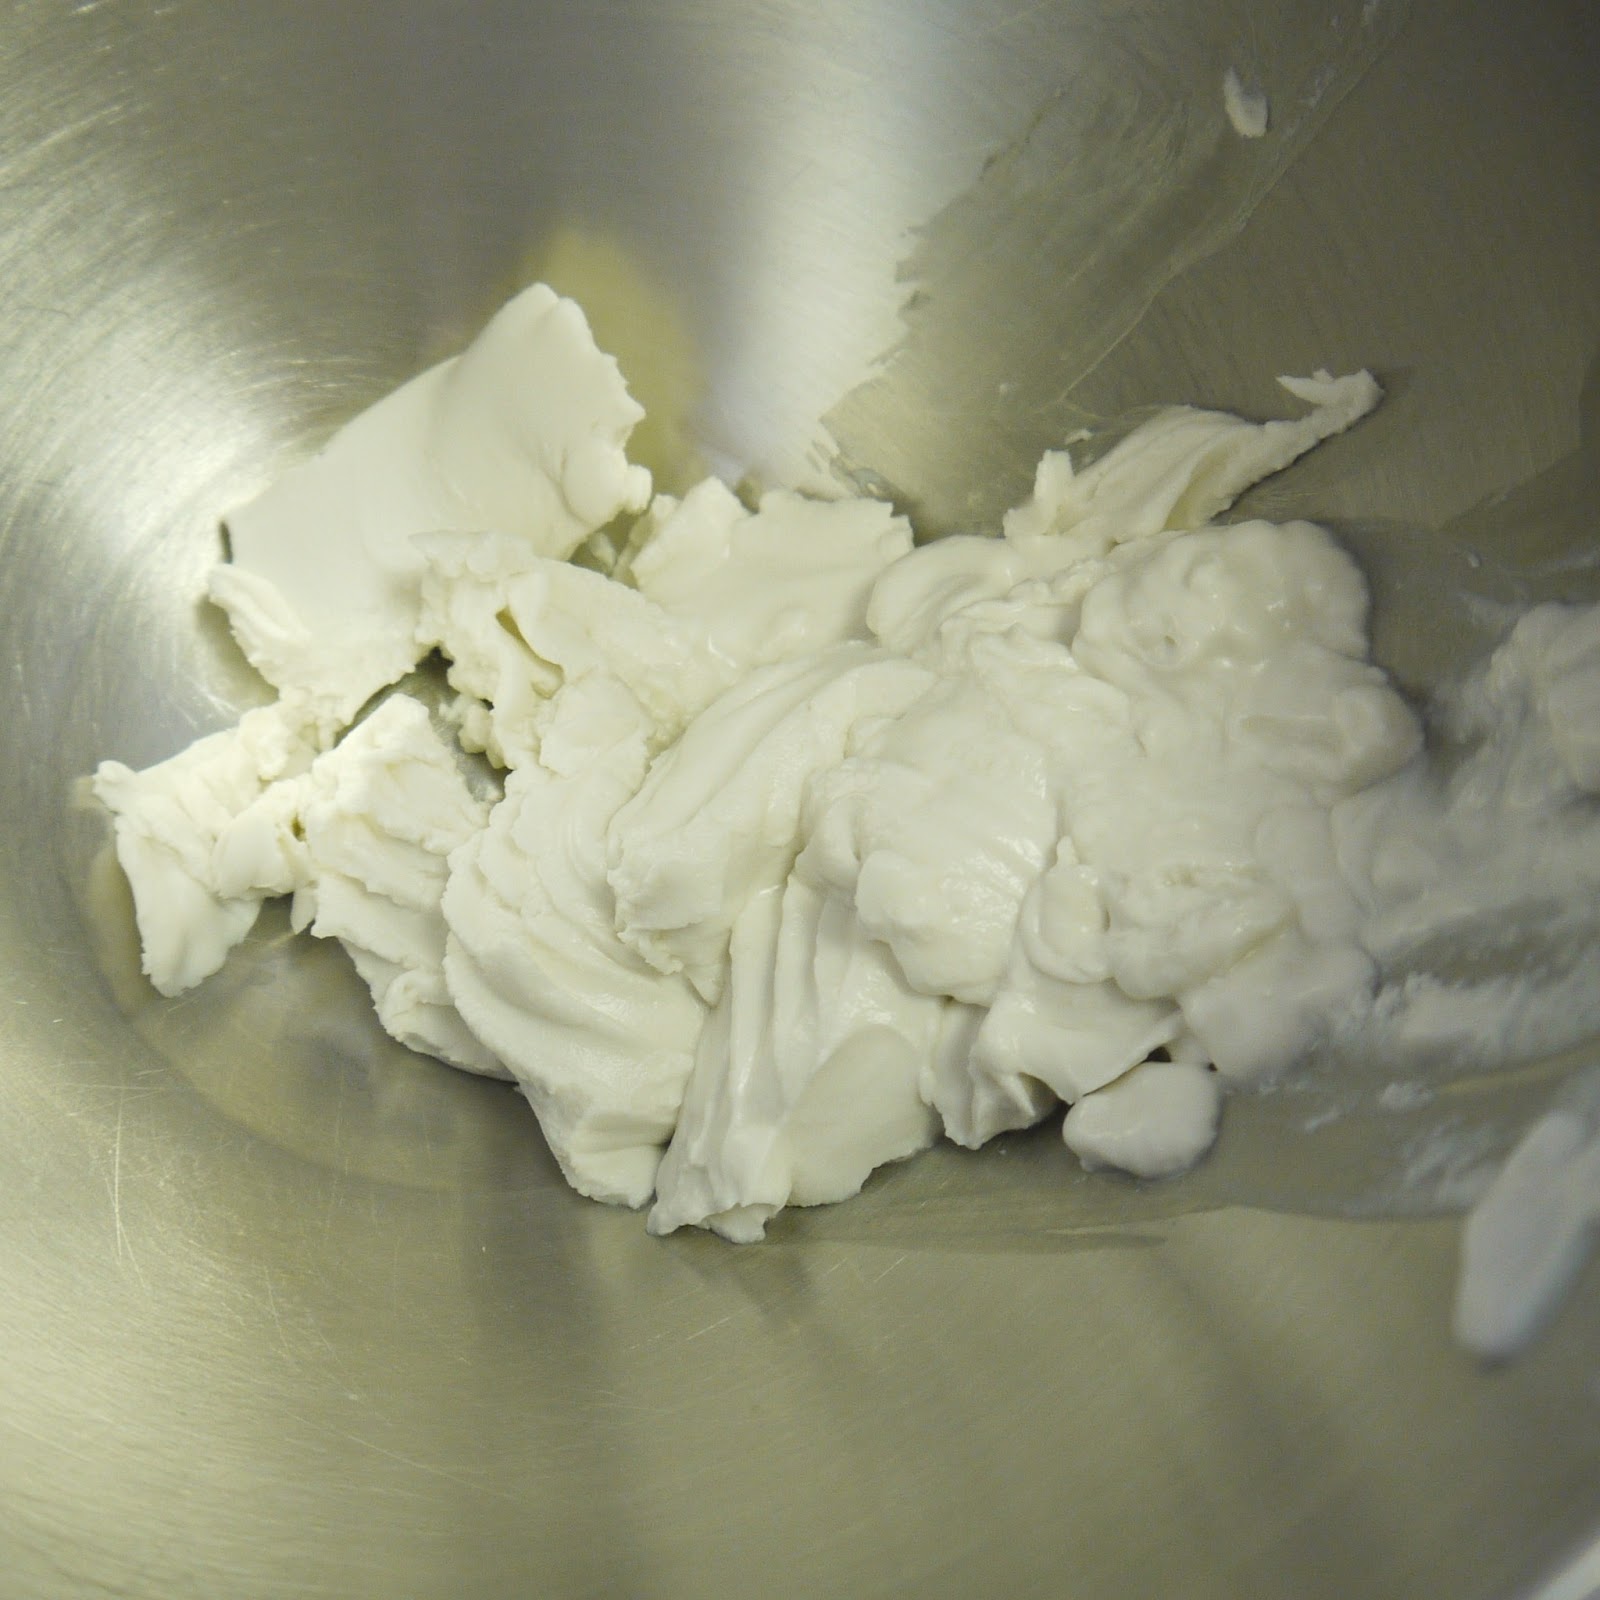
1. Some of the recipes I found via Pinterest suggested chilling the can of coconut milk ahead of time to make it easier to separate the cream from the water. This does help to drastically define the layers, but it makes the cream very hard and crumbly. I actually found it easier to work with at room temperature. Just use a fork to remove the soft cream--the tines allow any excess water drain off into the can.


This is the absolute wettest a forkful should be. It's OK to leave a few floaters in the can.


This is what you should end up with cream-wise:


2. The cream above is pictured in a mixing bowl, but I've found the best process is to begin in the blender, preferably a VitaMix or similarly beastly apparatus. Add your sweetener and flavoring of choice--I've tried various combinations of honey (1 T) or powdered sugar (1 1/2 T) and vanilla extract (1 tsp) or vanilla bean paste (1 tsp) and/or coconut rum (1 tsp)--and blend on high for about 30 seconds or until you have what looks like slightly frothy milk.


Transfer to a small container and chill for at least an hour. The mixture will thicken slightly in the fridge, but it has not yet reached its full potential.


3. Transfer the cream to a large, metal mixing bowl and use a wire whisk to whip it just until it holds soft peaks.


Use immediately or store in an airtight container in the fridge for up to four days. It will become slightly firmer in the fridge, but it will be just as easy to dollop!

Thanks for reading! Here's to Being the Secret Ingredient in your life.


Wednesday, April 18, 2012

Spicy Cucumber Salad


The Setting: Wednesday, already?

The Soundtrack: Just the gentle sleep-sounds of my little Oia-bug.

Steaming up the Oven: Nothing yet, but who knows what the night will bring?

The Scenario: The journey down the Mekong continues!

When the authors of Hot Sour Salty Sweet, Jeffrey Alford and Naomi Duguid, first began exploring Southeast Asia in the 1970s, they were limited to visiting Thailand and Myanmar (Burma) because of wartime restrictions prohibiting outsiders from entering China, Laos, Vietnam and Cambodia.

One of the first formerly restricted areas to loosen its restrictions after the war was the Yunnan Province of China, where Alford and Duguid picked up today's tasty tidbit, layou huanggua, or Spicy Cucumber Salad.

This snappy salad that celebrates the tastes of hot, salty, and sweet is as simple to make as it is to inhale.

I snacked on some of the crisp cukes immediately after dousing them with the hot oil, as the recipe suggests, and Hoosband and I savored the rest, slightly softened, as a side dish with some burgers later that night--I know, probably not what the authors intended, but delicious nonetheless.

The only problem I ran into with this recipe was an inability to source Sichuan peppercorns.

I subbed in black peppercorns (no relation to the Sichuan, but I had them on hand) and used an entire jalapeno (instead of the half called for in the recipe) to make up for some of the lost heat. I considered throwing in a dash of Chinese Five Spice powder, since Sichuan peppercorns are one of its five spices, but I held back. Something to try next time!

This recipe is reprinted with permission from Artisan Books; my notes are in red.


Spicy Cucumber Salad (layou huanggua--Yunnan)
In this salad the cucumbers are first dressed with a little vinegar, then dressed again with hot oil. The contrast of smooth chile-warm oil and crisp fresh cucumber is a knockout. The salad has a mild but not aggressive heat made with the 5 dried chiles. Note that the cucumbers will soften if they're left standing, so don't pour the hot oil over them until just before you with to serve the salad.

1 large or 2 medium European cucumbers (1 to 1 1/4 pounds) I used 4 European cucumbers, as I felt mine were especially small
2 T rice vinegar
1 T sugar
2 T peanut or vegetable oil
5 Thai dried chiles, or 3 for milder heat
1/2 jalapeno, minced I minced and used the whole pepper with all the ribs and seeds
7 Sichuan peppercorns I used black peppercorns, but they are not a legitimate substitution from what I've read
1/2 tsp salt
1/4 cup packed torn coriander leaves (cilantro; I finely minced mine)

Peel the cucumber, leaving some thin strips of peel on if you wish, for a decorative effect.


Cut lengthwise into quarters and discard the seeds. I did not discard the seeds, as that would have left me with very little cucumber.


Use the flat side of a cleaver or large knife to bash the cucumber pieces several times.


Cut the pieces lengthwise into thinner strips, then cut crosswise into 2-inch lengths.


Place in a medium bowl. In a small bowl, mix together the vinegar and sugar. Pour over the cucumber, mix well, and set aside.


Place a wok or skillet over high heat. When it is hot, add the oil and swirl to coat the pan.


Toss in the dried chiles, jalapeno, and peppercorns and stir-fry for 20-30 seconds. Pour this over the cucumbers. Sprinkle on the salt and mix well.

Mound the salad in a shallow bowl. Sprinkle on the coriander leaves and serve immediately.

Serves 4 as a salad or as one of many dishes in a rice meal.

Note: The traditional way to make this uses 3 tablespoons of oil, giving a well-oiled texture that may be undesirable. If you wish, try both and see which you prefer.

Excerpted from Hot Sour Salty Sweet by Jeffrey Alford & Naomi Duguid (Artisan Books). Copyright 2000.


Stay tuned for more tasty travels down the Mekong with Alford and Duguid, coming soon!

Thanks for reading! Here's to Being the Secret Ingredient in your life.

Friday, April 6, 2012

You Little Tart!

The Setting: Beautiful blue skies!

The Soundtrack: GCB on Hulu.

Steaming up the oven: Nada...but I'm contemplating pizza.

The Scenario: Testing recipes for a cooking class I'm teaching on the 22nd (Earth Day).

Since it's finally spring, and the markets are beginning to come alive with the vibrant colors and welcome flavors of juicy berries and fresh asparagus, I figured...

What better way to celebrate spring than to proudly flaunt its bounty atop French tarts?

For something savory, Asparagus, Leek, and Goat Cheese Tarts.

And for something sweet, berry tarts--but not just any berry tarts--Vegan Berry Tarts!

My test run for the asparagus tarts went off without a hitch, but the vegan tarts presented a couple of hiccups.

My first fling with the butterless tart shells resulted in cookie-shaped mini-scones with a flavor and mouthfeel somewhere between super-crumbly shortbread and flaky croissants--pleasant enough, but not what I was going for.

A reduction in the amount of coconut oil and the addition of just a touch of tofu yielded an easy-to-work-with dough and perfect vegan tart shells.

As for the filling, the combination of orange marmalade, vanilla bean, powdered sugar, and tofu, when blended to oblivion, provided a surprisingly dead-on substitution for traditional pastry cream.

I'm shocked, and pleased, to say I could just about replace the real pastry cream and tart shells in my repertoire with the simpler and more healthful vegan versions from here on out.


Vegan Berry Tarts
The crust and filling for these tarts share one package of tofu. For the crust, do your best to measure level tablespoons of the coconut oil and tofu. Using measuring spoons instead of measuring cups keeps the oil and tofu in small increments that will break up more easily in the food processor without over working the dough or melting the fat.

~for the crust~
8 T coconut oil, room temp
4 T (from a 12.3 oz package) firm tofu (I used Silken)
1 1/3 cup whole wheat pastry flour
1/3 cup powdered sugar
1 tsp kosher salt
3 T non-dairy dark chocolate chips

~for the filling~
remainder of the package of tofu
1/4 cup orange marmalade
1/2 cup powdered sugar
1 vanilla bean
assorted berries for topping, cleaned and patted dry if necessary

~for the glaze~
1/2 cup orange marmalade
2 T water

Preheat the oven to 350 degrees F., lay a sheet of parchment paper on your counter, and line two standard size, 12-cup muffin pans with muffin liners.

Measure out the coconut oil and the tofu for the crust, tablespoon by tablespoon, into a cup or small bowl. Place in the freezer just while you prepare the dry ingredients.

Place the pastry flour, 1/3 cup powdered sugar, and salt in a food processor fitted with the dough blade and pulse several times to combine. Remove the coconut oil and tofu from the freezer, use a knife to break up any large clumps, and add to the flour mixture. Pulse until dough comes together in one large ball.

Turn dough out onto the parchment, pat into a flattened disk, wrap up in the parchment, and let rest in fridge for 10 minutes.

Unwrap dough, place another sheet of parchment on top, and roll out to about 1/8 of an inch. Use a jar lid or 3-inch biscuit cutter to cut out 24 circles, re-rolling as necessary. Carefully fit each circle into a muffin cup, pressing gently to avoid tearing or excess stretching. Prick the bottoms of each cup all over with a fork, and bake at 350 for 16 minutes, rotating pans halfway through. Cool completely. Remove tart shells from muffin liners.

Place the dark chocolate in a microwave-safe bowl, and heat for 30 seconds. Stir until smooth. Use a pastry brush to paint a thin layer of chocolate in the bottom of each tart shell. Let set completely at room temperature.

Place the remaining tofu, 1/4 cup marmalade, and 1/2 cup powdered sugar in a blender or in a small-basined food processor fitted with the metal blade. Split the vanilla bean, scrape out the seeds, and add them to the filling ingredients (the pod can be stashed in a bag of sugar or added to a bottle of vanilla extract to boost its flavor). Blend or process till completely smooth and creamy.

Fill each tart shell with the pastry cream and arrange berries on top as desired. Place tarts in a baking pan or wide plastic container, and let chill in the fridge while you prepare the glaze.

Whisk together 1/2 cup marmalade and 2 T water in small saucepan over medium heat. Bring to a gentle boil, reduce heat to low, and cook 2 more minutes. Strain if desired. Cool 5 minutes.

Use a clean pastry brush to gently paint the tops of the tarts with glaze. Refrigerate tarts 20 minutes or until ready to serve. Tarts will keep in the fridge for up to 3 days.


Thanks for reading! Here's to Being the Secret Ingredient in your life.