Showing posts with label dairy free. Show all posts

Tuesday, November 5, 2013

Apple Pie Tartlets a la Mode (Gluten-Free, Vegan)

Hoosband does not give compliments frivolously. If he thinks something is only so-so, it's not getting the Hoosband thumbs up. 

While his honesty is something I treasure, I'm always a little apprehensive to share my healthier creations with him, especially when they're inspired by the traditional version of something he loves. 

So when he came to the table with one of my Apple Pie Tartlets and a scoop of Coconut Milk "Ice Cream," after dinner the other day, I braced myself for the critique. 

"Wow. These are good," he said, taking another bite. "Really good. . . .  How healthy are they?"

"Healthier than anything else you're likely to enjoy this much," I told him. 

I'll be straight with you: This is not a low-calorie dessert. But more-importantly, it is not an empty-calorie dessert.

Packed with protein, fiber, and healthy fats (not to mention vitamins and minerals), this delicious riff on the all-American dessert delivers serious apple flavor and decadence in a perfectly portion-controlled package.

And this time of year, with the hustle and bustle and endless to-do-lists of the holidays, you might also appreciate that these sweet treats take a fraction of the time and effort of an actual apple pie. They're also make-ahead and no-bake, freeing up coveted oven space on the days before the big meal. 

Want to get your kids involved in the cooking process? My two-year old loves helping me push the buttons on the food processor, blender, and ice-cream maker. She can even help press the crust mixture into the muffin liners to form the tartlet shells. She's also pretty good at quality control along the way.  :)

Finally, if you or anyone on your guest list has a sensitivity to gluten, grains, eggs, or dairy, this is one dessert that gets the green-light. And with the Hoosband seal of approval, there's a good chance it'll get the thumbs up from the apple-pie purists in your home, too. 


Apple Pie Tartlets

for the crust:
2/3 cups raw, unsalted cashews
1 cup raw, unsalted walnuts
1/4 tsp ground cinnamon or cassia (Saigon cinnamon)
1/4 tsp fine-grain salt
2 T coconut palm sugar (or brown sugar)
2 T coconut oil

Line six cups of a large or regular-sized muffin pan with muffin liners. Set aside.

Place the cashews, walnuts, cinnamon, salt, and coconut palm sugar in a food processor, and pulse or process until the mixture is very finely ground, like coarse sand, pausing to scrape down the sides and lid as necessary. Make sure not to over-process, which would lead to making nut butter. Add the coconut oil, and process just until the mixture is evenly moistened and sticks together easily when you pinch a clump between your fingers.

Divide the mixture evenly among the prepared muffin liners. Press the mixture firmly into the bottoms and up the sides of the liners, making tartlet shells. Chill the shells in the fridge while you prepare the filling.

for the filling:
3 oz dried (dehydrated, not freeze-dried) apples, unsweetened and unsulphured
2/3 cup raw, unsalted walnuts
1/3 cup pure maple syrup
2 T coconut oil
1.2 tsp fine-grain salt
3/4 tsp ground cinnamon or cassia (Saigon cinnamon)

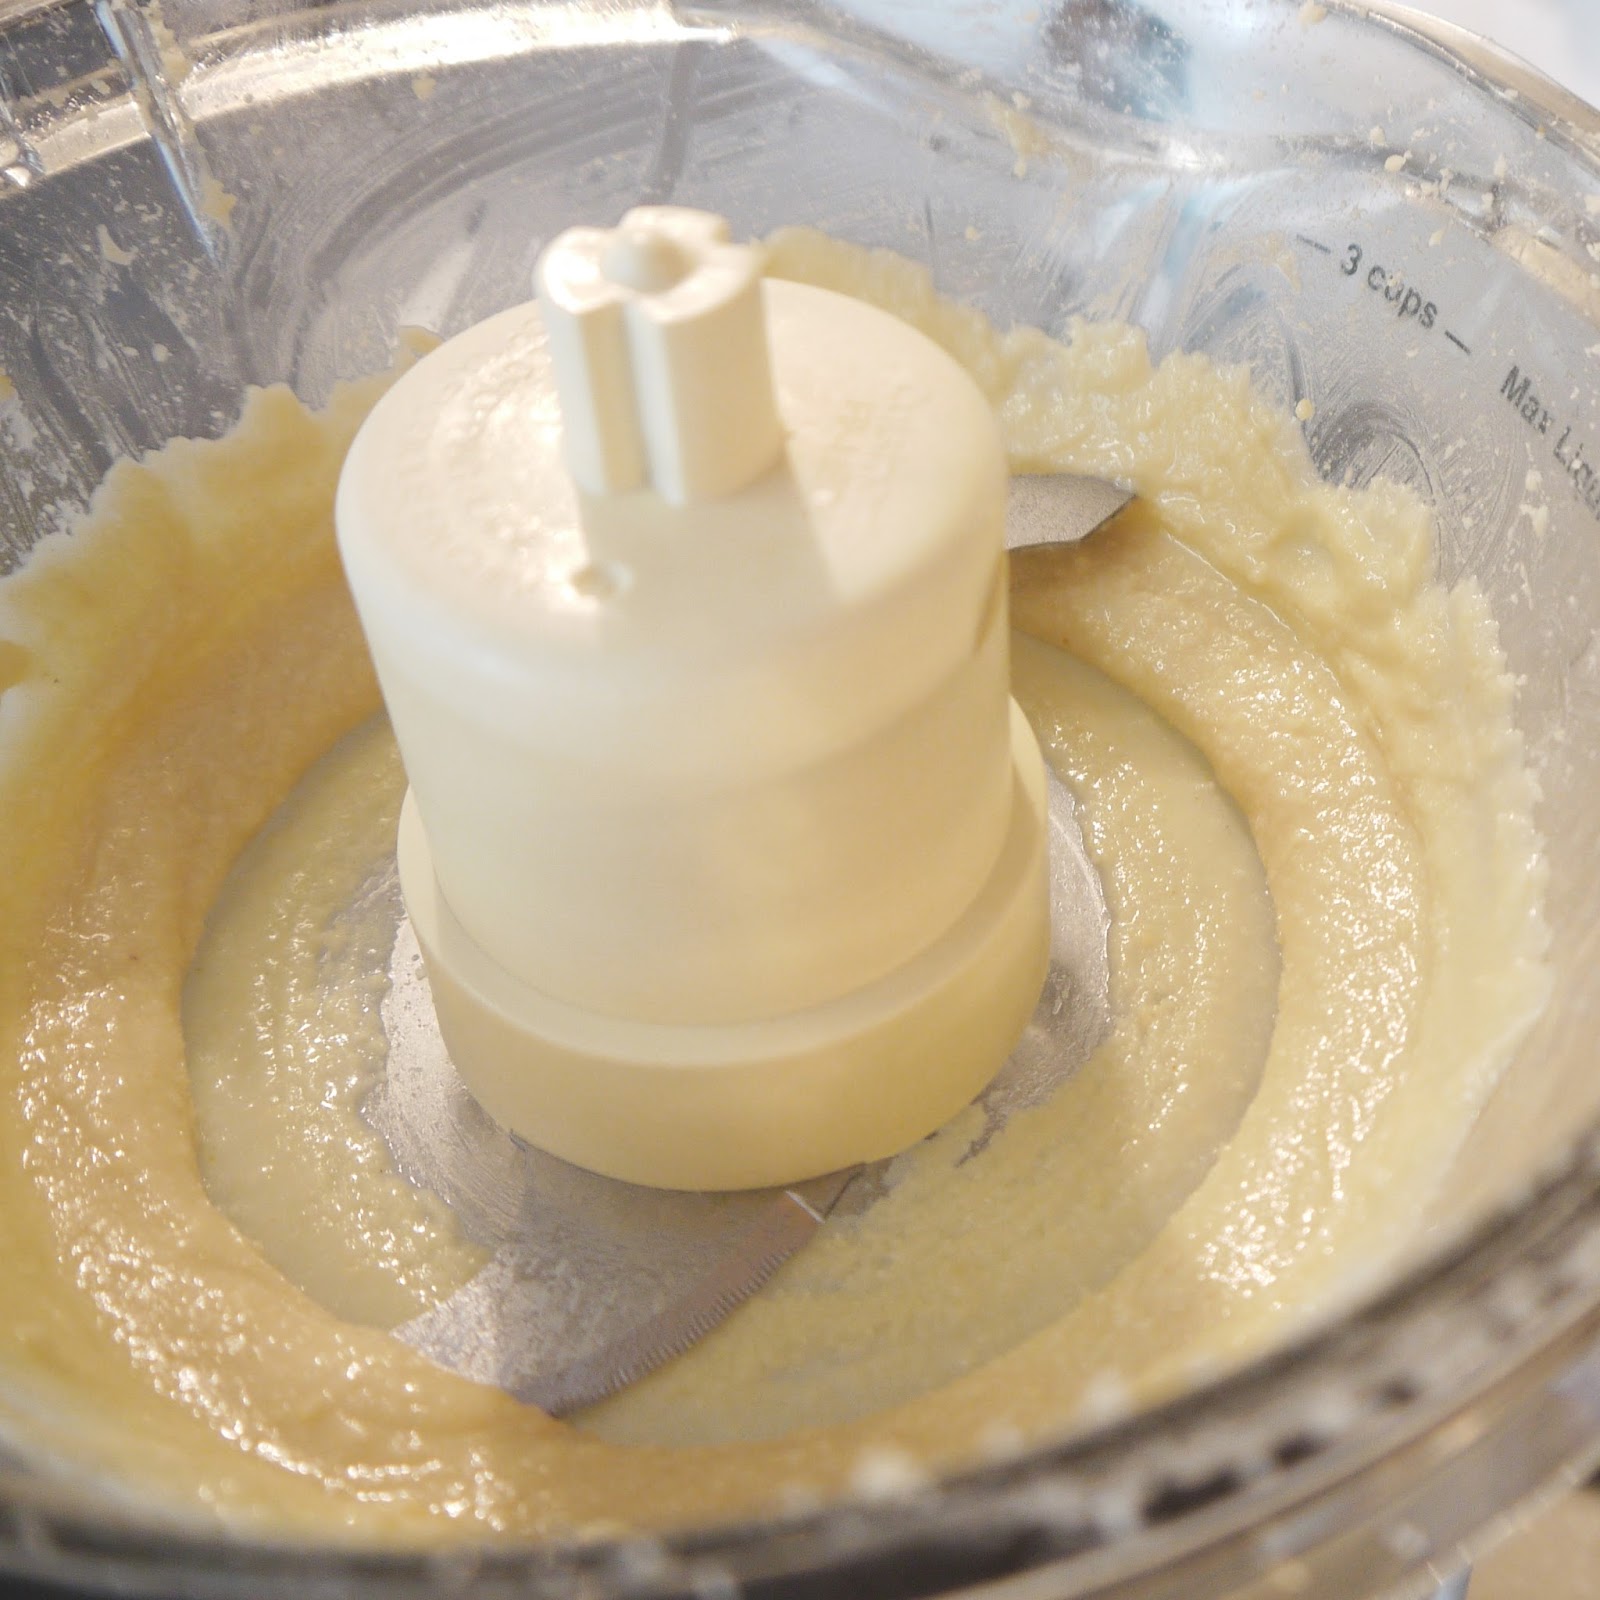
Rinse out and pat dry the processor bowl, blade, and lid. Place the dried apple pieces in the processor and pulse or process until all the pieces are approximately the size of rolled oats. Remove one cup of the apple pieces and set aside, leaving the remaining pieces in the processor. Add the walnuts to the processor and process until the mixture looks like a scrappy nut butter, pausing to scrape down the sides and lid as necessary. Add the remaining filling ingredients and process until completely smooth, pausing to scrape down the sides and lid as necessary. The mixture will look somewhat like a very thick caramel. Stir the reserved apple pieces into the filling mixture.

The mixture will be very dense and sticky. Use a spoon lightly greased with coconut oil to evenly divide the mixture among the prepared cups and gently spread it out in each one. Chill the tartlets in the refrigerator for at least one hour or until ready to eat.


Tartlets will last for a week, stored in airtight container in the fridge. They're actually even better after a couple of days!

Serve with Coconut Milk "Ice Cream," recipe follows.


Coconut Milk "Ice Cream"
1 can full-fat coconut milk (do not use "lite" or reduced fat versions)
1/4 cup pure maple syrup
8 dried, pitted dates
1/4-1/2 tsp fine-grain salt
1 vanilla bean

If using an ice-cream maker with a freezable canister, freeze the canister for 24 hours or longer for best results.

Place the coconut milk, syrup, dates, and salt in a heavy-duty blender. Use a paring knife to split the vanilla bean lengthwise. Use the dull side of the knife to scrape the tiny beans out of the pod, and add the beans to the other ingredients in the blender.

With the lid secured, blend the ingredients on high until the mixture is completely smooth. The mixture will likely be quite warm from the friction of the blades. Transfer the mixture to a metal bowl (metal will allow the mixture to cool more quickly than plastic or glass). Cover with plastic wrap and chill in the refrigerator at least one hour--never add a warm ice-cream base to your ice-cream maker!

Freeze the ice cream according to the directions of your machine. If using a Cuisinart machine like this one, first set up the base, then get the canister out of the freezer and set it on the base. Place the scraper in the canister, place the plastic cover over the canister, turn the machine on, and, finally, get the chilled base out of the fridge and pour it into the canister. Right now you're probably thinking, "duh," but trust me, this process is important to get the best results.

When the mixture first starts to freeze, it will look very lumpy and grainy. Do not fear. By the time it is done, it should look smooth and creamy. You will know it is done freezing when it seems to all cling to the scraper in one big mass. Transfer the ice cream into a 12-oz plastic container with a tight-fitting lid, and place in the freezer for at least four hours or until ready to serve. Once completely frozen, the ice cream will be very firm and will benefit from sitting out on the counter for a minute or two for easier scooping.


Makes approximately 8 (1 1/2-oz) or 6 (2-oz) servings.

If you enjoyed this post, you might also like these:

Pecan Pie Tartlets

Amazing Pumpkin Tartlets

Macadamia Coconut Lime Tartlets

Chocolate, Pistachio, and Mascarpone Tartlets

Vegan Berry Tartlets

Thanks for reading! Here's to Being the Secret Ingredient in your life.

Monday, September 16, 2013

Macadamia-Coconut-Lime Tartlets


It's official: I have tartlet fever.

If you read my recent Chocolate, Pistachio, and Mascarpone Tartlets post, you saw my attempt at a semi-healthy dessert, perfectly portioned for those who crave moderation, and rich and delicious for those who crave decadence. 

In addition to moderation and decadence, Hoosband and I have been craving desserts we actually feel good about sharing with our two-year-old. These particular tartlets are made from nuts, coconut, coconut oil, lime juice, and a modest combo of unrefined sweeteners. I feel pretty good about that. 

Their coconut-lime flavor profile is inspired by a frozen drink Hoosband and I had years ago on our honeymoon in Mexico called a white sand--something else I've been craving. 

Macadamia nuts pair well with the flavors of coconut and lime, while adding creaminess and body to the filling and structure and crunch to the crust. 

Like the chocolate-pistachio tartlets, today's tartlets are no-bake and grain/gluten free. With the subtraction of the mascarpone, however, these tartlets are also dairy-free, though still not technically raw or vegan, due to the coconut palm sugar in the crust and the honey in the filling, respectively.

It is important to use virgin coconut oil in this recipe, as refined coconut oil lacks the essential coconut flavor and aroma. 

Due to their high coconut-oil content, these tartlets require at least 8 hours in the fridge to set up and should be stored in the fridge right up until consumption for best results. When the filling is set, the texture should be like a cross between lime curd and custard, similar to a key lime pie, and firm enough to slice if desired.

The tartlets can also be frozen overnight, resulting in a much firmer, more ice-cream-like texture.


Macadamia-Coconut-Lime Tartlets

for the crust
2/3 cups grated coconut (raw and unsweetened)
3 T coconut palm sugar (substitute with brown sugar if desired)
1/4 tsp fine salt
2/3 cups raw macadamia nuts
2 T virgin coconut oil

for the filling
2/3 cup raw macadamia nuts
1/4 cup freshly squeezed lime juice
1/4 tsp freshly grated lime zest (try to avoid using any of the white pith)
3 T honey (I used Texas brush honey)
1/4 cup virgin coconut oil

Place muffin liners in each of six large muffin cups. I use regular-sized muffin liners in large cups--the larger cups just allow the liners to lay out a little wider. If you do not have a large-cup muffin pan, just use six cups in a standard-size muffin pan.

Place 1/3 cup grated coconut, the coconut palm sugar, and salt in the bowl of a food processor, and process till very finely ground. Add 2/3 cup macadamia nuts, the coconut oil, and remaining grated coconut, and process just until the nuts are ground to very small pieces and the mixture looks like very coarse, damp sand. 


Be sure not to over-process the mixture, as it will become nut butter and be too goopy to work with. If this does happen accidentally, add a an extra 3-4 tablespoons of grated coconut and pulse just enough to combine. The coconut will absorb some of the excess liquid and add more structure.

Divide the mixture evenly among the six prepared cups (1 1/2-2 T per cup). 


Use your fingers to press the mixture firmly into the bottom and about 1/2 inch up the sides of each cup.


Chill while you prepare the filling. 

Rinse and dry the food processor bowl, blade, and lid. Place 2/3 cup macadamia nuts in the processor and process until very smooth, the consistency of freshly ground peanut butter. 


Add the remaining filling ingredients and process until completely smooth. 


Pour the filling into the tart shells, dividing it evenly among the six cups. 


Place the muffin tin in the refrigerator and chill for at least 8 hours or till set. 

Store the set tartlets in airtight containers in the fridge until ready to serve, up to one week. 


If desired, garnish with some finely chopped macadamia nuts and fresh lime zest, or try a dollop of Whipped Coconut Cream.


Makes 6 tartlets.

Thanks for reading! Here's to Being the Secret Ingredient in your life.

Saturday, April 20, 2013

Strawberry-Colada Pavlovas


The Setting: A quiet and peaceful evening at the Crumm house--the little one has been sleeping for almost two hours!

The Soundtrack: Duck Dynasty. Gotta love it.

On the Stovetop: Nothing now, but Hoosband made some killer chicken quesadillas for dinner.

The Scenario: A dessert inspired by a drink....

Last summer Hoosband and I had a revelation in frozen-drink making: the Strawberry Colada.

Though I've never seen it on a drink menu, I'm quite sure we're not the first to think of it.

While I have no idea what may have qualified as a Strawberry Colada to the barkeeps who blended before us, ours is a simple and relatively healthy concoction of frozen strawberries, coconut milk (the kind that comes in a milk carton) and coconut rum. Three ingredients to pure, island-fantasizing, hammock-by-the-ocean bliss.

Last week, back on the mainland, I had a couple of egg whites hanging around after a pudding-making endeavor, so I froze them to save for another one of Hoosband's favorite indulgences: meringue and berry pavlovas.

I generally keep the pavlovas pretty simple: whipped cream and fresh raspberries in a crunchy-on-the-outside, marshmallowy-on-the-inside meringue shell (as in Raspberry Pavlovas, Jan 2012).

This time I wanted to mix things up a bit.

Since the market had gorgeous, organic strawberries on sale (and because I've been dreaming of the beach), I decided to take some inspiration from our favorite frozen beverage.

The result?

Meringue shells speckled with toasted coconut, loaded with whipped coconut cream and topped with coconut-rum-spiked strawberries.

It's not quite like being on the beach--more like blissfully looking down on the islands from a white, puffy cloud.

It's easy to put your own spin on this dreamy dessert. Here are a few simple variations:

To make it a bit more beachy, add the zest of one lime to the strawberry mixture--I did this before eating my third pavlova, and I think I like it even better this way.

For more of a literal interpretation of the strawberry colada, puree the marinated strawberry mixture into a smooth sauce in the blender.


If you're a "love the taste, not the texture"-fan of coconut, as I used to be, feel free to omit the grated coconut in the meringues.

If you're not a fan of coconut rum or don't have any on hand, try Grand Marnier (orange-flavored brandy liqueur) instead--it's usually my go-to with sliced strawberries, and it's never served me wrong--or omit the booze altogether, no substitutions necessary.


Strawberry-Colada Pavlovas

~for the strawberries~
1 quart fresh strawberries, rinsed and patted dry
2 T granulated sugar
2 T coconut rum (such as Malibu)

Use a paring knife to hull the berries (remove the leafy, green stem-area) and slice them thinly.


It doesn't really matter which way you slice them, but I prefer to do it along their length.

Place the strawberries in a refrigerator-safe container that can be sealed and add the sugar and rum, stirring to coat evenly.


Store the strawberry mixture in the fridge until for at least 8 hours or until ready to use (up to three days). The berries will become softer and syrupy.


~for the meringue shells~
1/4 cup unsweetened, grated coconut
2 egg whites, room temperature (if you start with frozen egg whites, thaw them overnight in the fridge)
1/8 tsp cream of tartar
1 tsp pure vanilla extract
1 tsp coconut rum, optional
3/4 cup granulated sugar

Place the coconut in a dry skillet over medium heat and toast, stirring frequently, until light golden.


Remove from heat and set aside to cool.

Preheat the oven to 300 degrees Fahrenheit (if your oven tends to run hot, decrease the temp slightly). Line a baking sheet with parchment paper or a silicone mat--if desired, you can trace six three-inch circles on parchment paper and flip it over so that you have guides for piping your shells. I prefer to go freehand.

Place the eggs whites, cream of tartar, vanilla, and rum in the bowl of an electric mixer and beat on medium speed until the whites are foamy and can hold a soft peak when you lift up the paddle.


With the mixer on med-low speed, slowly add the sugar, one tablespoon at a time, beating just until the mixture is bright white, glossy, and can hold a stiff peak when you lift up the paddle.


Using a rubber spatula, gently fold in the toasted coconut.

Transfer the mixture to a piping bag (working in batches if necessary) and pipe six, three-inch meringue shells onto the prepared pan: Put the tip of your piping bag down where you want the center of the circle to be, and pipe out a tight coil of meringue until it is the desired width. Then lift the tip to make a ring around the edge of the coil, creating a well. Repeat to create six shells.


Bake the meringues at 300 degrees Fahrenheit for 23 minutes or until cream-colored and crisp on the outside. The insides will have a very slight jiggle. Allow to cool five minutes on the baking sheet; then carefully slide the parchment or silicone mat onto a cooling rack and allow the shells to cool completely.


~for the whipped coconut cream~
1 can full-fat coconut milk, room temperature
2 T powdered sugar
1 tsp pure vanilla extract
1 tsp coconut rum

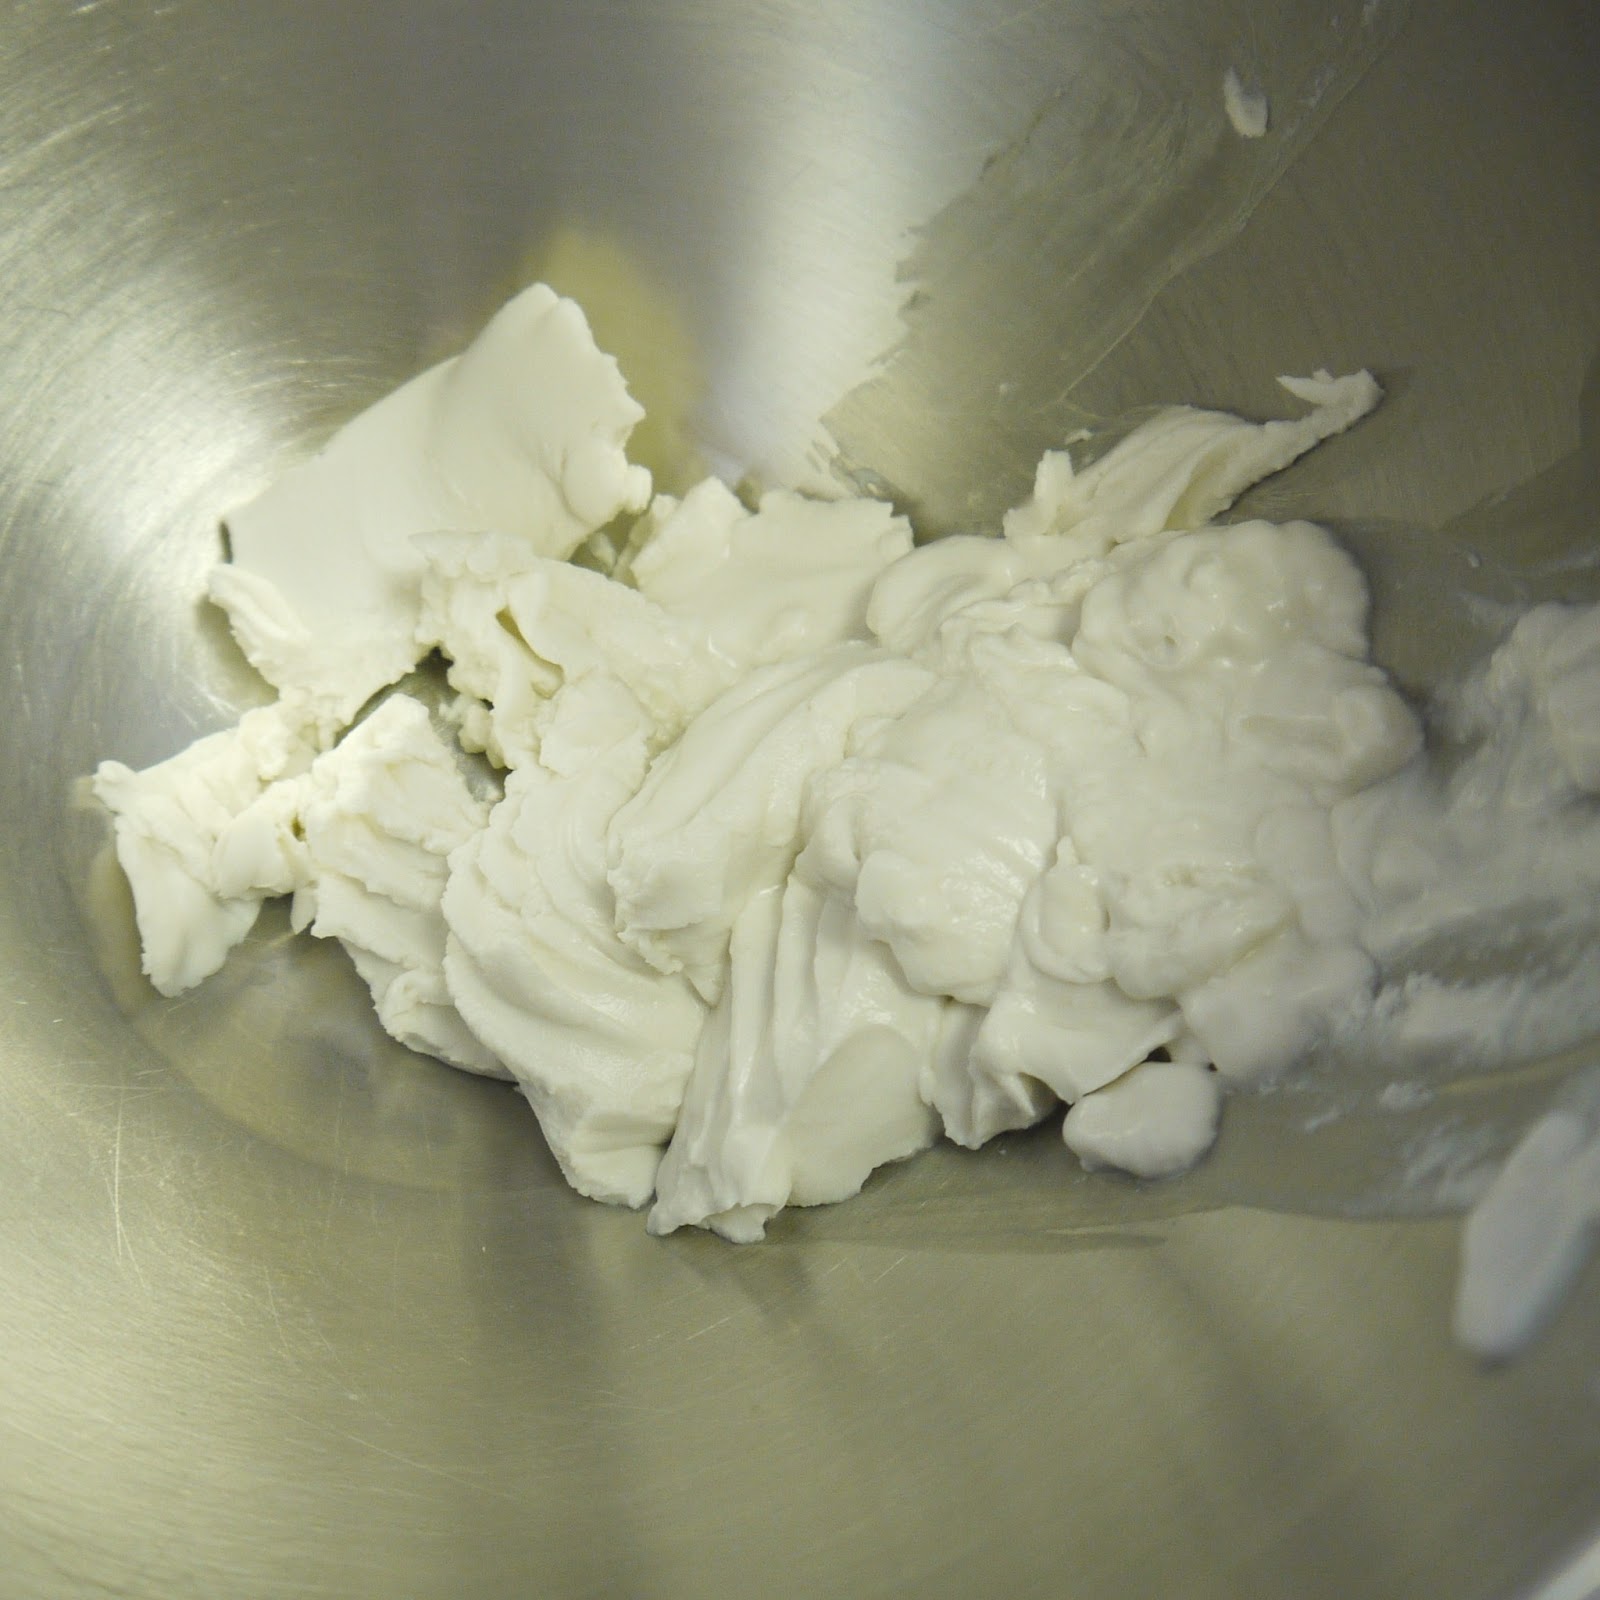
Open the can of coconut milk and use a fork to scoop the fatty top layer of cream into a powerful blender, making sure to keep the thinner, watery liquid in the can (the fork helps any liquid to drain off).


Don't worry if there are a few clumps of cream left in the can.


If desired, transfer the watery liquid to an airtight container and keep in the fridge for smoothie-making or another upcoming purpose. Clumps of cream left in the the can will actually make smoothies even better!

Add the remaining ingredients to the blender and blend on high for about 30 seconds or until the mixture looks like slightly frothy milk. Transfer to a small container and chill for about an hour. It will have thickened slightly. Transfer the cream to a large, metal bowl, and use a wire whisk to whip the mixture by hand until it is able to hold soft peaks.


For a more detailed explanation of this process, see this post.


If not assembling the pavlovas right away, store the coconut cream in an airtight container in the fridge until ready to use (up to 4 days). It will thicken slightly in the fridge but will still be easy to work with.

~to assemble~
Place a meringue shell on a dessert plate and spoon the coconut cream into the center "well" of the shell.


Top with the prepared strawberries and enjoy!


Thanks for reading! Here's to Being the Secret Ingredient in your life.

Friday, April 19, 2013

Whipped Coconut Cream


The Setting: A gloomily overcast day, complete with severe weather warnings. Here's hoping the storms stay away!

The Soundtrack: Educational programming on PBS. Why was this not my go-to for TV-time all along?

Steaming up the Oven: Nothing in the oven, but there's Vietnamese Chicken Salad, a la Hot Sour Salty Sweet in the fridge!

The Scenario: I've been working on a post about a composed dessert that involves whipped coconut cream. As I've been writing and editing and amending and basically creating an appendix-worth of notes just on the whipped cream section, I had to switch gears and make this a post of its own--composed dessert to come tomorrow.

Please forgive the long-winded post--it's been a bit of a journey.

So I don't know if I've mentioned it, but in January I discovered I'm lactose intolerant. I guess it was sort of a latent situation. I've never been much of a milk drinker, and you kind of expect to get sick when you eat a whole container of ice cream, so I never thought much about it. Then in December I started getting these terrible stomach pains (I'd been chowing down pretty aggressively on my toddler's string cheese and adding skim lattes back to the diet after a year-and-a-half hiatus from my green-and-white-cup addiction), and the doctor told me to cut out dairy.

I was bummed. Fortunately, my favorite aged cheeses were pretty much lactose free (most of the milk's lactose is converted into lactic acid in the cheese-making/aging process), but certain cheeses, butter, ice cream, and whipped cream were solidly in the danger zone.

Cutting back on plain milk wasn't an issue. I'd been using almond or coconut milk in my cereal for years, and I'd often replace butter with coconut oil. But what use in place of whipped cream?

I'd been thinking about experimenting with some combination of coconut milk and coconut oil (for added fat content), but suddenly, with perfect timing, I started seeing multiple references on Pinterest to what appeared to be the whipped coconut cream of my dreams.

The instructions all seemed fairly straightforward: scoop off the solidified fatty layer from the top of a can of coconut milk, add sweetener and flavorings, and whip.

Of course! I had gotten so used to using the coconut milk that comes in a milk carton that I had completely forgotten the canned version has a convenient cream layer just begging to be whipped! It was the answer to my problem--in theory.

In practice, however, it wasn't quite so dreamy.

You may have seen my reference to my first whipped-coconut-cream attempt in my No-Bake Irish Cream Cheesecakes post. I got the stuff to whip up only after adding dairy cream to the mixture and switching from my beloved electric whisk to the good-old manual method and an extra dose of elbow grease. At the time I credited the addition of dairy cream for my eventual success at achieving those covet-worthy peaks, but it turns out the method of whipping made the difference.

I learned this lesson in my second attempt. This time I employed the electric stand mixer. At first it looked like soft peaks were seconds away. The mixture seemed to be taking in air and getting ever-so-slightly more voluminous--and then it separated into liquid and clumps. Suddenly and without warning, I had a curdled mess.

Unwilling to concede defeat, I dumped the mixture into the blender and blitzed it back into a homogeneous substance. Now it just looked like milk. I poured it into a Tupperware container and put it in time out (in the fridge) for bad behavior.

A few hours later I shrugged my shoulders, removed the mixture from the fridge, transferred it to a large, metal mixing bowl, and got out the old trusty whisk. Within a minute or two of hand-whipping and sheer determination, I had this:


It was exquisite.

Feeling like I had landed on perfection like Dorothy landing on the Wicked Witch of the East (happy to be out of the storm, but not quite sure I could write a travel guide on how to get from Kansas to Oz), I knew I had to try this whole thing one more time and attempt to streamline the process.

So here, at long last, are my pointers for success:

1. Some of the recipes I found via Pinterest suggested chilling the can of coconut milk ahead of time to make it easier to separate the cream from the water. This does help to drastically define the layers, but it makes the cream very hard and crumbly. I actually found it easier to work with at room temperature. Just use a fork to remove the soft cream--the tines allow any excess water drain off into the can.


This is the absolute wettest a forkful should be. It's OK to leave a few floaters in the can.


This is what you should end up with cream-wise:


2. The cream above is pictured in a mixing bowl, but I've found the best process is to begin in the blender, preferably a VitaMix or similarly beastly apparatus. Add your sweetener and flavoring of choice--I've tried various combinations of honey (1 T) or powdered sugar (1 1/2 T) and vanilla extract (1 tsp) or vanilla bean paste (1 tsp) and/or coconut rum (1 tsp)--and blend on high for about 30 seconds or until you have what looks like slightly frothy milk.


Transfer to a small container and chill for at least an hour. The mixture will thicken slightly in the fridge, but it has not yet reached its full potential.


3. Transfer the cream to a large, metal mixing bowl and use a wire whisk to whip it just until it holds soft peaks.


Use immediately or store in an airtight container in the fridge for up to four days. It will become slightly firmer in the fridge, but it will be just as easy to dollop!

Thanks for reading! Here's to Being the Secret Ingredient in your life.


Tuesday, February 5, 2013

White Bread


The Setting: A toasty apartment in a snow-drenched wonderland.

The Soundtrack: Disney's Lady and the Tramp, or "Puppy Movie!" as Oia likes to say. It's her favorite.

Steaming up the Oven: Roasted Brussels sprouts.

The Scenario: A little love for the black sheep of the dinner table.

With the one-two punch of society's push for heart-healthy whole grains over nutritionally vacant white flour and the recent proliferation of gluten sensitivity, white bread is the culinary equivalent of persona non grata these days.

Here at casa de Crumm, we have a hearty love of breads and baked goods in all their gluten-globbing glory.  When it comes to white flour, however, we do our best to avoid it, throwing whole-wheat flour into everything from Cuban bread to cookie dough.

Still...every once in a while...white bread calls my name.

With its slight, subtle sweetness, tight crumb, and soft, squish-able texture, it's sensational for sandwiches, terrific as toast, and an irresistible snack straight from the oven (though you really should let it cool first).

The recipe I've developed borrows heavily from Rose Levy Beranbaum's "Basic Soft White Sandwich Loaf" in The Bread Bible (Norton, 2003), an incredible resource for anyone who likes to bake bread or is thinking about giving it a shot.

I've followed Beranbaum's white bread recipe several times with highly delicious results--she's more an expert on baking than I will ever be, try though I might. The last time the white-bread craving struck, however, I was on a strict, two-week-long, 100-percent-dairy-free, doctor-mandated diet.

I'd had a full month of tummy troubles, and the doctor, believing I might be lactose intolerant, instituted the fortnight of no-dairy-of-any-kind to test her hypothesis. Even low- and virtually-no-lactose dairy items were banned.

Thus, with the butter and nonfat-milk powder in Beranbaum's bread on the forbidden list, I had no choice but to meddle with perfection.

My recipe shakes things up a bit with beer, coconut oil, and coconut milk, yielding two loaves of flavorful, approachable, dairy-free white bread that will rattle your whole-grain good intentions to their core.


White Bread
Like Beranbaum's bread, this white bread relies on a starter mixture and an overnight fermentation period for extra flavor development. I promise it's worth the wait. I find that a stand mixer makes easy work of mixing and kneading the dough, but I'm sure you could do it by hand if you prefer.

~The Starter~
12 oz bread flour or all-purpose flour (I use King Arthur)
12 oz light beer, room temperature (I use Miller Lite)
1.5 oz honey
3/4 tsp active dry yeast

~Everything Else~
12 oz bread flour
3/4 tsp active dry yeast
9 T coconut oil, room temperature (should be solid but soft)
2-4 T coconut milk
2 tsp fine salt

In the bowl of a stand mixer, combine all the ingredients for the starter.


Cover and set aside.

In another bowl, mix together the remaining flour and yeast. Sprinkle this mixture over the starter mixture, but do not mix.


Cover with plastic wrap and let sit at room temperature for 1-2 hours to initiate fermentation. Transfer the bowl to the refrigerator to continue fermenting overnight (at least 8 or up to 24 hours). Remove bowl from fridge 30 min-1 hour before you're ready to mix the dough.

When ready, use a stand mixer fitted with the paddle attachment to slowly incorporate the flour mixture into the starter mixture. Add the coconut oil, beating on med-low speed until the dough begins to come together. Switch to the dough hook. With the mixer on med-low speed, add the coconut milk 1 tablespoon at a time, just until the dough comes together, scraping down the sides of the bowl as needed.

Turn the mixer to medium speed (6 on a KitchenAid), and let the dough hook knead the dough for 8 minutes. The dough may try to flop over the side of the bowl during this time, so stand by and scrape it back down into the bowl if needed. The dough should be glossy and pliable when fully kneaded.


Add the salt and knead one more minute.

Transfer the dough to a large, greased bowl, cover, and let rise at room temperature until doubled in size (about 2 hours). Gently lift up and lightly tuck the dough underneath itself all around the edges to release some of the gas that has built up without deflating the dough completely. Cover and let rise at room temperature until doubled in size again (about 2 more hours).

Grease two Pyrex loaf pans. Turn the dough out onto a lightly floured work surface. Divide the dough in half.


Form each half into a rectangle about the length of your loaf pans.


Roll each rectangle up into a log, and place each one in a loaf pan.


Cover the pans and let the dough rise once more, until it has doubled in size or puffed up just above the edges of the pans (1-2 hours).

Preheat the oven to 350 degrees Fahrenheit 50 minutes before you are ready to bake.

Place the loaf pans in a roasting pan and add about half an inch of water to the bottom of the pan to create a bit of steam during baking.


Bake for 50 minutes (rotating the pans halfway through) or until the tops are golden and hollow-sounding when tapped. A skewer inserted in the center of each loaf will come out clean when the loaves are done.

Take the loaf pans out of the roasting pan and allow the bread to cool in the loaf pans for 15 minutes before running a knife along the edges and inverting the pans onto a cooling rack to let the loaves cool completely.

Store the bread, tightly wrapped, at room temperature for up to three days, or freeze for up to two months. For best freezing results, wrap each loaf tightly in plastic wrap and then aluminum foil, and then seal it tightly within a freezer-safe zip-top bag.

Any bread left after three days will make incredible French toast--if you have any bread left after three days, that is.

Thanks for reading! Here's to Being the Secret Ingredient in your life.