Showing posts with label make ahead. Show all posts

Thursday, January 23, 2014

Savannah Smiles Pudding


It's that time of the year again--Girl Scout Cookie Season!

So in honor of those intrepid Girl Scouts, pushing wagons of cookies up and down our streets and bravely knocking on our doors, hoping we'll shell out four dollars a box, here's a little recipe inspiration featuring one of this year's tasty new flavors.

If you have fond memories of Lemon Coolers (a long-ago-retired cookie originally produced by Sunshine Biscuits), the Girl Scouts' crunchy, lemony, powdered-sugar-coated Savannah Smiles will be a pleasantly familiar indulgence.

You could easily adapt this recipe to work with any variety of Girl Scout cookie, but I just love the creamy-tart combination of lemon, cream cheese, and vanilla bean. Hoosband is generally in the "lemon is not for desserts" camp, but even he was pleasantly surprised with the results.

Finally, please don't judge this recipe by the photos. I made this dessert to take to dinner with friends and didn't have the opportunity to snap any glamour shots. But there wasn't any left at the end of the night, so that's a good sign, right?


Savannah Smiles Pudding
If you do not have a food processor, the cookies can be placed in a gallon-sized zip-top bag and crushed with a cast-iron skillet or rolling pin, and the cream-cheese mixture can be beaten with an electric mixer, or even a very sturdy whisk, as long as the cream cheese has been fully softened.

1 box Savannah Smiles Girl Scout Cookies
8 oz cream cheese (reduced fat is fine), softened for at least 30 minutes at room temperature (longer if not using a food processor)
3/4 cup heavy whipping cream, divided
1/4 cup granulated sugar
1 vanilla bean

Place the cookies in a food processor and pulse until the largest pieces are about the size of a pea.


Transfer the cookies to another container and set aside.

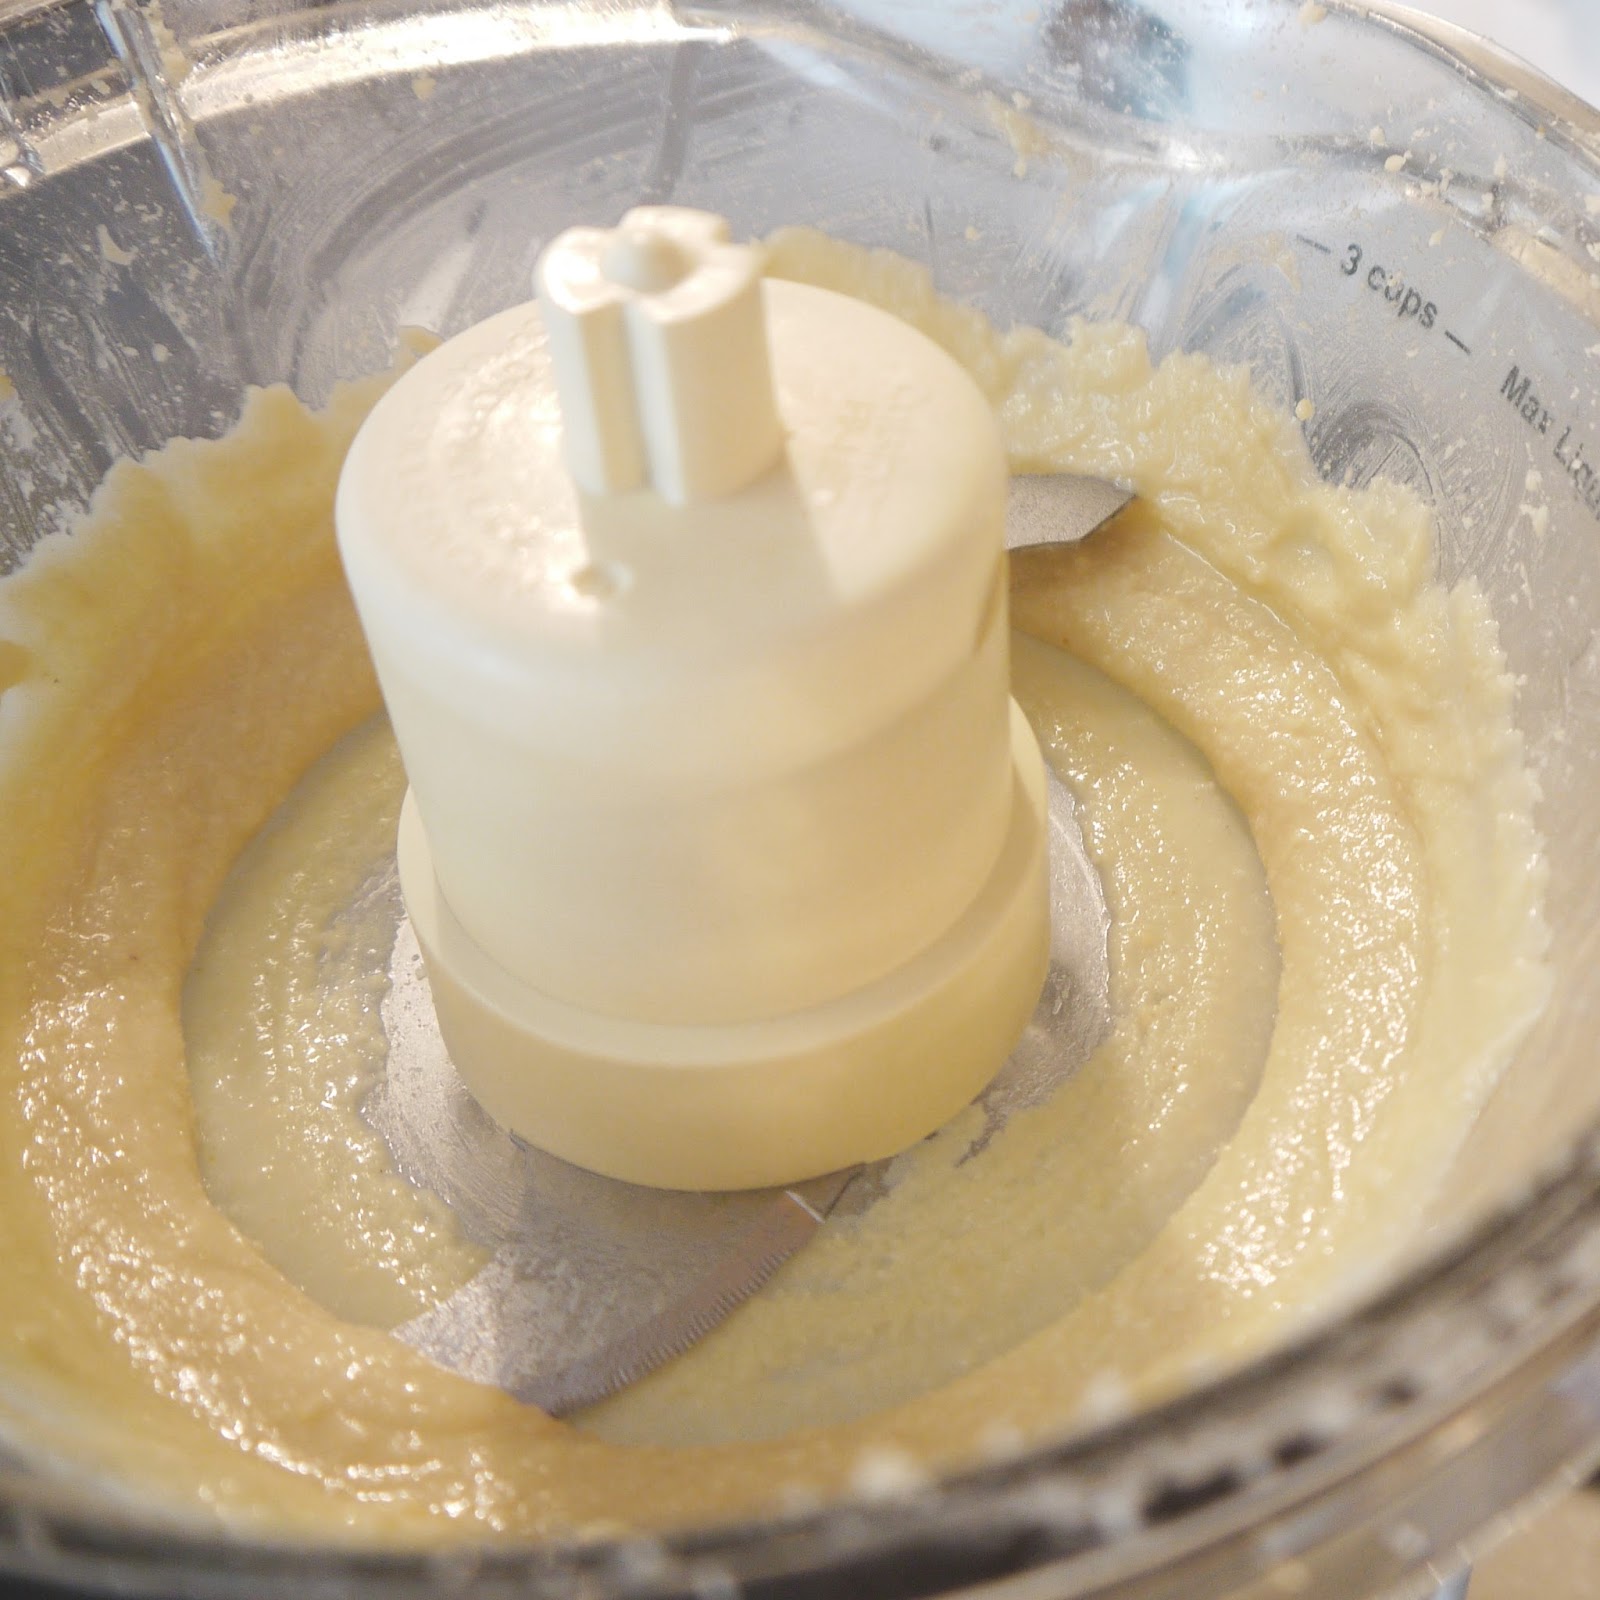
Wipe out the bowl of the food processor, and add the cream cheese, 1/4 cup heavy whipping cream, sugar, and the seeds from the vanilla bean (split the bean lengthwise with a paring knife, and use the dull edge of the knife to scrape out the tiny seeds). Process until completely smooth, pausing to scrape down the bowl if necessary.

In a large bowl, use an electric mixer or a wire whisk to whip the remaining 1/2 cup heavy cream until very fluffy and capable of holding a soft peak when the beater or whisk is lifted out.


Add the cream cheese mixture to the whipped cream, and use a spatula to gently blend until smooth.


Evenly distribute 1/3 of the cookie crumbs within the bottom of a Pyrex loaf pan.


Top with half of the cream-cheese mixture.


Repeat with another 1/3 of the cookie mixture and the remaining half of the cream-cheese mixture. Finish with remaining crumbs. Cover the loaf pan with plastic wrap and refrigerate for at least two hours, or up to 24 hours before serving.

Serves approximately 8.


Thanks for reading! Here's to Being the Secret Ingredient in your life.


Thursday, December 5, 2013

Cinnamon-Pecan Tea-Cakes


It's cookie-swap time, y'all!

One of the many things I look forward to this time of the year is the Great Food Blogger Cookie Swap--sort of a "secret Santa" for food bloggers.

Last year I sent each of three participating strangers a dozen Elf Cookies, my homage to Keebler's E.L. Fudge, and I received an assortment of delicious treats from three different food bloggers. This year, in keeping with my theme of childhood favorites, I had planned an homage to Nabisco's Nutter Butters--delicious, right?

But as I started to draft my recipe, I realized my heart just wasn't in it. Prepping for family to come for the holidays, keeping up with my rambunctious two-year old, and fighting off morning sickness (!!) made the massive undertaking of developing a sandwich-cookie copycat recipe seem a little more daunting than usual.

So with the nutter-butter concept on the back-burner, I racked my brain for a new idea. It would have to be something that could be packed and shipped, something that would keep well, and ideally, get even better after a few days.

Then it came to me: Tennessee Tea-Cakes!

The rules for the cookie swap stipulate that the blogger must choose a recipe he or she has never posted before--but it can be a variation of a previous post. Though I'd written about the fudge-textured confection of Southern legend in the past, I'd been wanting to do a variation on the mythical treat for quite a while (stopped only by the knowledge that I would eat them all within a two-hour period if allowed), so with the flavors of the season in mind (and with recipients' addresses in hand), Cinnamon-Pecan Tea-Cakes were born.

The addition of a cup of chopped pecans to the batter means your yield will be a little greater than a dozen. Resist the urge to fill the muffin liners all the way to the top--simply bake off the remaining batter after the first batch is done. The tea-cakes do not rise much, but filling them to the top requires them to cook for longer, and the texture won't be quite the same.

In the original post, I baked the tea-cakes in a 350-degree-Fahrenheit oven. Since that time, I have moved a couple of times, and my current oven produces slightly better tea-cakes at 375. Unfortunately, I have yet to follow the advice of every cooking authority EVER and purchase a removable oven thermometer, so I don't know which temp is the truest, or if the addition of the pecans somehow changes the ideal temperature. If possible, you may want to do a test batch to see which temp gets the best results for you.

The MOST important thing to remember with this recipe, however, is to let the tea-cakes cool completely before dusting with powdered sugar and to let them rest even longer before serving. Powdered sugar will get goopy on still-warm tea-cakes. Also, remember the texture of these tea-cakes should be akin to that of a fudgy brownie. Right out of the oven, the tea-cakes will seem underdone on top and overdone on the bottom, and the taste will be far less complex. The taste and texture achieve perfection after a day or two. Wait that long if you can, but definitely wait at least a few hours before digging in. You won't be sorry.


Cinnamon-Pecan Tea-Cakes
There is just a kiss of cinnamon in this recipe, letting the pecans, butter, and brown sugar really sing. 

1 cup all-purpose flour
1 cup chopped pecans
1 tsp kosher salt
1/4 tsp baking powder
1/2 tsp ground cinnamon or cassia (aka Saigon cinnamon)
1 cup dark brown sugar
1 stick (1/2 cup) unsalted butter
1 T pure vanilla extract
1/4 tsp apple cider vinegar
4 oz (1/2 a standard package) Neufchatel or reduced-fat cream cheese, not whipped
1 large egg

Preheat oven to 375 degrees F and line a 12-cup standard-size muffin pan with muffin liners.

In a small bowl whisk together flour, pecans, salt, baking powder, and cinnamon. Set aside.

In a medium-sized saucepan, melt butter and brown sugar over med-low heat, whisking to combine. Bring just to a boil, remove from heat, and add vanilla, vinegar, and cream cheese, whisking until smooth. Thoroughly whisk in the egg. Whisk in the dry ingredients. 

Fill the prepared muffin cups about half-full with batter, reserving remaining batter for second batch.
Bake at 375 degrees F for 16 minutes. Repeat with remaining batter. Cool completely. I cannot stress this enough.


These tea-cakes are going to come out of the oven smelling so good that your anticipation is likely to get the better of you. DO NOT GIVE IN.

When you first take the tea-cakes out of the oven, the bottom halves will seem too cake-y and the top halves will seem too gooey. They need to hang out for a while in order to settle into textural and flavorful perfection.

In fact, they'll be even better after a day or two. . . if you can manage to wait that long.

Once completely cool, dust with powdered sugar and store tightly covered at room temperature for up to 5 days.


Makes about 16 tea-cakes.

Thanks for reading! Here's to Being the Secret Ingredient in your life.

Monday, September 16, 2013

Macadamia-Coconut-Lime Tartlets


It's official: I have tartlet fever.

If you read my recent Chocolate, Pistachio, and Mascarpone Tartlets post, you saw my attempt at a semi-healthy dessert, perfectly portioned for those who crave moderation, and rich and delicious for those who crave decadence. 

In addition to moderation and decadence, Hoosband and I have been craving desserts we actually feel good about sharing with our two-year-old. These particular tartlets are made from nuts, coconut, coconut oil, lime juice, and a modest combo of unrefined sweeteners. I feel pretty good about that. 

Their coconut-lime flavor profile is inspired by a frozen drink Hoosband and I had years ago on our honeymoon in Mexico called a white sand--something else I've been craving. 

Macadamia nuts pair well with the flavors of coconut and lime, while adding creaminess and body to the filling and structure and crunch to the crust. 

Like the chocolate-pistachio tartlets, today's tartlets are no-bake and grain/gluten free. With the subtraction of the mascarpone, however, these tartlets are also dairy-free, though still not technically raw or vegan, due to the coconut palm sugar in the crust and the honey in the filling, respectively.

It is important to use virgin coconut oil in this recipe, as refined coconut oil lacks the essential coconut flavor and aroma. 

Due to their high coconut-oil content, these tartlets require at least 8 hours in the fridge to set up and should be stored in the fridge right up until consumption for best results. When the filling is set, the texture should be like a cross between lime curd and custard, similar to a key lime pie, and firm enough to slice if desired.

The tartlets can also be frozen overnight, resulting in a much firmer, more ice-cream-like texture.


Macadamia-Coconut-Lime Tartlets

for the crust
2/3 cups grated coconut (raw and unsweetened)
3 T coconut palm sugar (substitute with brown sugar if desired)
1/4 tsp fine salt
2/3 cups raw macadamia nuts
2 T virgin coconut oil

for the filling
2/3 cup raw macadamia nuts
1/4 cup freshly squeezed lime juice
1/4 tsp freshly grated lime zest (try to avoid using any of the white pith)
3 T honey (I used Texas brush honey)
1/4 cup virgin coconut oil

Place muffin liners in each of six large muffin cups. I use regular-sized muffin liners in large cups--the larger cups just allow the liners to lay out a little wider. If you do not have a large-cup muffin pan, just use six cups in a standard-size muffin pan.

Place 1/3 cup grated coconut, the coconut palm sugar, and salt in the bowl of a food processor, and process till very finely ground. Add 2/3 cup macadamia nuts, the coconut oil, and remaining grated coconut, and process just until the nuts are ground to very small pieces and the mixture looks like very coarse, damp sand. 


Be sure not to over-process the mixture, as it will become nut butter and be too goopy to work with. If this does happen accidentally, add a an extra 3-4 tablespoons of grated coconut and pulse just enough to combine. The coconut will absorb some of the excess liquid and add more structure.

Divide the mixture evenly among the six prepared cups (1 1/2-2 T per cup). 


Use your fingers to press the mixture firmly into the bottom and about 1/2 inch up the sides of each cup.


Chill while you prepare the filling. 

Rinse and dry the food processor bowl, blade, and lid. Place 2/3 cup macadamia nuts in the processor and process until very smooth, the consistency of freshly ground peanut butter. 


Add the remaining filling ingredients and process until completely smooth. 


Pour the filling into the tart shells, dividing it evenly among the six cups. 


Place the muffin tin in the refrigerator and chill for at least 8 hours or till set. 

Store the set tartlets in airtight containers in the fridge until ready to serve, up to one week. 


If desired, garnish with some finely chopped macadamia nuts and fresh lime zest, or try a dollop of Whipped Coconut Cream.


Makes 6 tartlets.

Thanks for reading! Here's to Being the Secret Ingredient in your life.

Tuesday, January 31, 2012

Raspberry Pavlovas


The Setting: Melting snow, vanishing clouds, messy apartment.

The Soundtrack: Gilmore Girls, Season 4

Steaming up the Oven: Meringue Pavlovas

The Scenario: Working on some Valentine's Day ideas....

If you haven't noticed, I have a bit of a thing for meringues (Peppermint Bark Meringues, Meringue Ghosts).

For Valentine's Day I thought I'd up the romantic ante and turn my classic meringues into Raspberry Pavlovas, or individual meringue wells filled with Chantilly cream and topped with fresh raspberries.

Easy on the eyes and almost as easy to throw together, this impressive looking dessert is perfect for a Valentine's Day dinner party or an intimate dinner for two.


Raspberry Pavlovas
2 egg whites
1/8 tsp cream of tartar
1 tsp pure vanilla extract
3/4 cup sugar
Chantilly cream, recipe follows
2 cups fresh raspberries (Do not rinse the raspberries, as they will become waterlogged. Instead, gently pat them with a damp paper towel.)

Preheat the oven to 300 degrees F. Line a baking sheet with parchment paper. If you desire, you can use a 3-inch biscuit cutter or coffee cup to trace circles on the back side of the parchment paper to give yourself a guide for piping. I like to wing it.

Beat the egg whites, cream of tartar, and vanilla with an electric mixer just until stiff peaks start to form. With mixer on, beat in sugar 1 T at a time, allowing each addition to become incorporated.


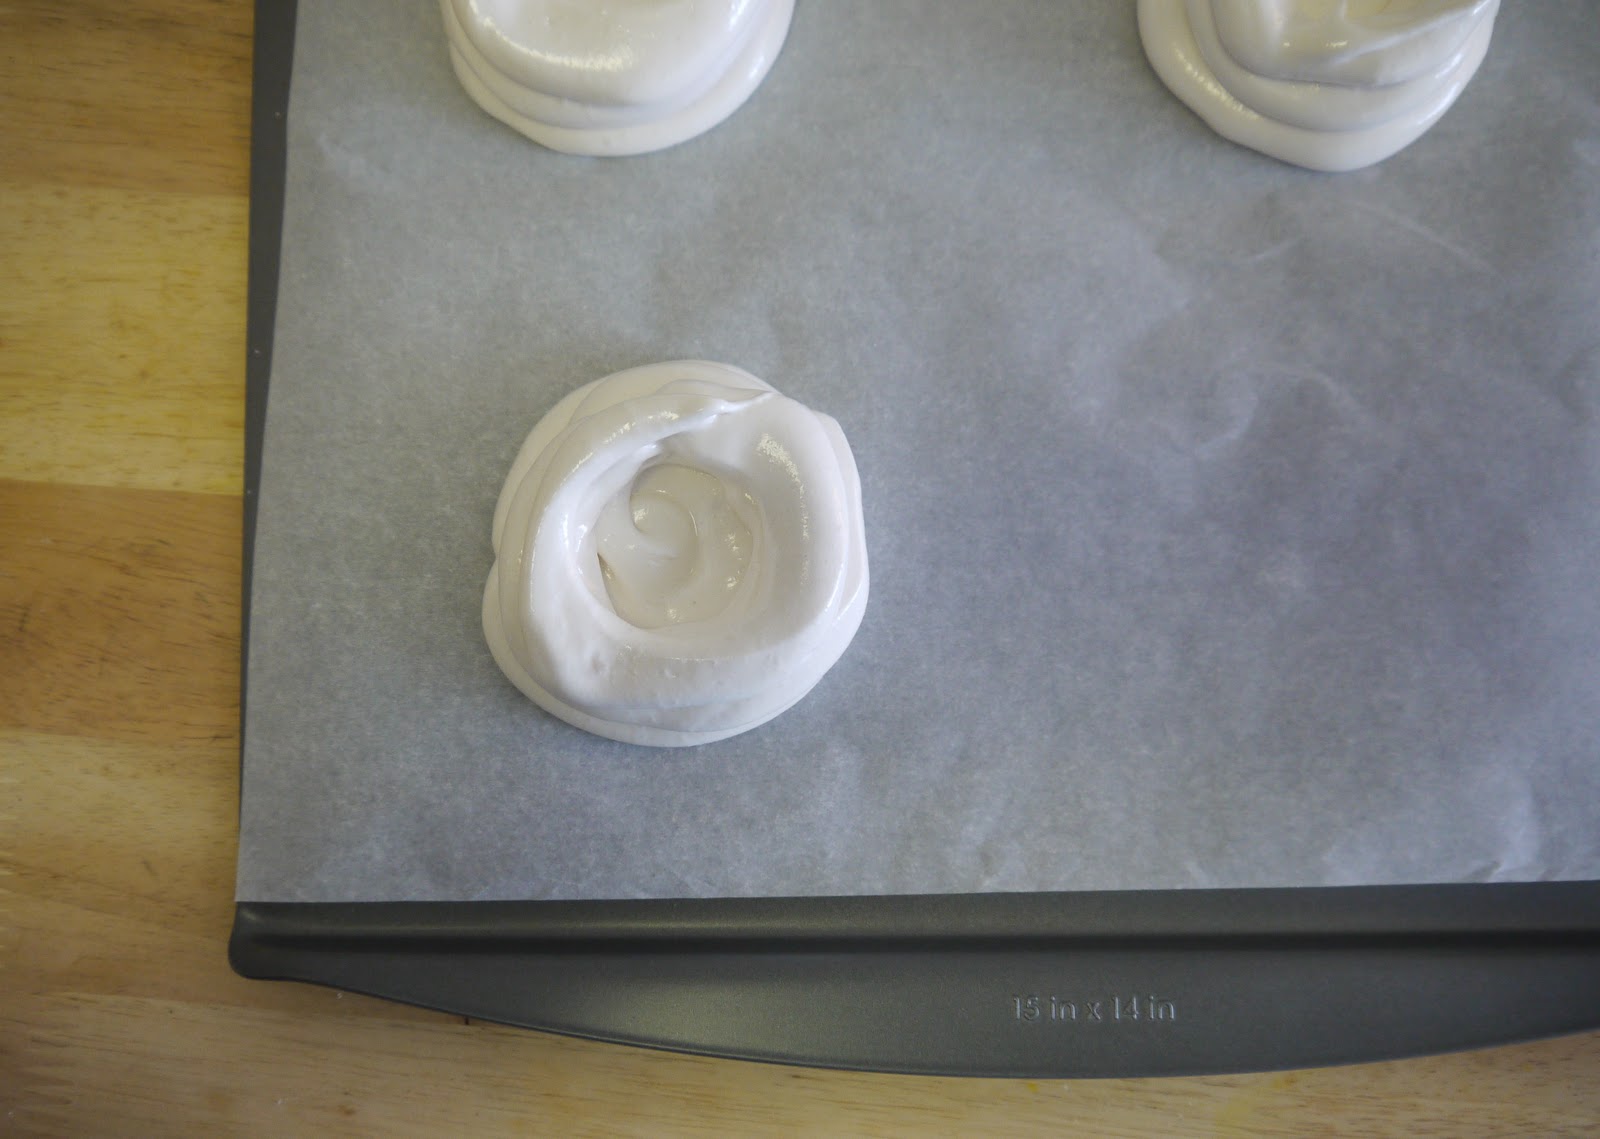
Gently transfer the mixture to a piping bag and pipe five 3-inch circles of meringue on the parchment. Fill in the circles, and make two more unfilled circles on top of each to create wells.


Bake at 300 degrees F for 25 minutes or until cream-colored, crispy on the edges, and just set in the centers. Since meringues are very delicate and oven temperatures vary, peek at these after 15 minutes. If they appear to be taking on too much color, reduce the oven temp slightly.


Cool to room temperature before very gently removing from the parchment paper. Handle with care.


To serve, fill each well with Chantilly cream and fresh raspberries.


Chantilly Cream
Chantilly cream is a fancy name for sweetened whipped cream flavored with vanilla. This one is sweetened very lightly because the meringues are so sweet already.

1 cup heavy whipping cream
2 T powdered sugar
1 tsp pure vanilla extract

Combine all ingredients in an electric mixer on med-low speed. Beat for 2 minutes. Gradually increase speed to med-high and beat just till the cream holds stiff peaks. Store leftover Chantilly Cream in an airtight container in the fridge for up to one week.


Extra meringues can be carefully placed in a flat, single layer in a zip-top plastic bag and stored at room temperature for up to 3 days. 


The perfect bite will have a bit of everything: chewy, marshmallowy meringue, light and fluffy Chantilly Cream, and the sweet-tart burst of raspberry, flecked with crunchy bits of meringue crust. In the mood yet? 


Thanks for reading! Here's to Being the Secret Ingredient in your life!