The Setting: Birds chirping, sun shining. It's a beautiful (but still chilly) day in South Bend.
The Soundtrack: Zac Brown Band (Okay, it's not actually on, but I've got Chicken Fried playing nonstop in my head right now).
Steaming up the Oven: The last of the Buttermilk Biscuits from last night.
The Scenario: Every month Foodbuzz.com sponsors an event called 24x24, for which 24 food bloggers from around the country and world are selected to host elaborate dinner parties on the same day and blog about them within 24 hours (well, by 11:59 p.m. the next day). This month I was selected to bring a little Music City foodlove to the Midwest!
~The Proposal~
Bring a taste of Nashville to the Notre Dame grad-student crowd using as many local (Midwestern) ingredients as possible.
~The Menu~
Should be as specifically "Nashville" as possible, with some quirky Southern staples thrown in for good measure. Bread and spread for the tables. Entree and side. Desserts. Drinks. Take-home treats.
I thought about what says home to me--my favorite dishes from my favorite spots.
Biscuits, Peach Preserves, and Country Ham are never-fails at Nashville's Legendary Loveless Cafe, so I reckoned they'd be a good way to start.
For a main dish my mind went immediately to barbecue.
In Tennessee the Memphis BBQ scene may get all the attention, but as far as I'm concerned, the best 'cue comes from Martin's Bar-B-Que Joint in Nolensville (just outside Nashville). There you'll find the inspiration for my entree, Redneck Tacos, or pulled pork BBQ in a corn cake "taco" with slaw.
I figured my side would be the Southern staple so outstanding it was nominated for two Oscars, Fried Green Tomatoes. The tomato
is Tennessee's state fruit after all.
But if you've ever tried sourcing green tomatoes in the middle of winter in South Bend, you know how that panned out. Fried okra made an excellent stand-in.
Dessert would be the Cracker Barrel classic Coca-Cola
® Cake, a Cherry-Chocolate-Chip Jack Daniel's
® Tipsy Cake, and, just to ensure the elusive tomato made an appearance, Loveless Cafe's "Guess Again" Tomato Cake .
Sweet Tea and Vanilla Bean Lemonade would quench our thirst, and guests would leave with goodie bags of Tennessee Tea-Cakes, Homemade MoonPies and Homemade GooGoo Clusters.
It was an ambitious spread.
~Planning~
The thing about putting something like this together when you have a seven-month-old with a strong preference for being held at all times is it takes a lot of planning, a lot of organization, and the time-management skills of a Fortune-500 CEO who is also a Vegas headliner and an undercover ninja.
I am not what most people would call organized.
I am at my best a semi-well-put-together mess.
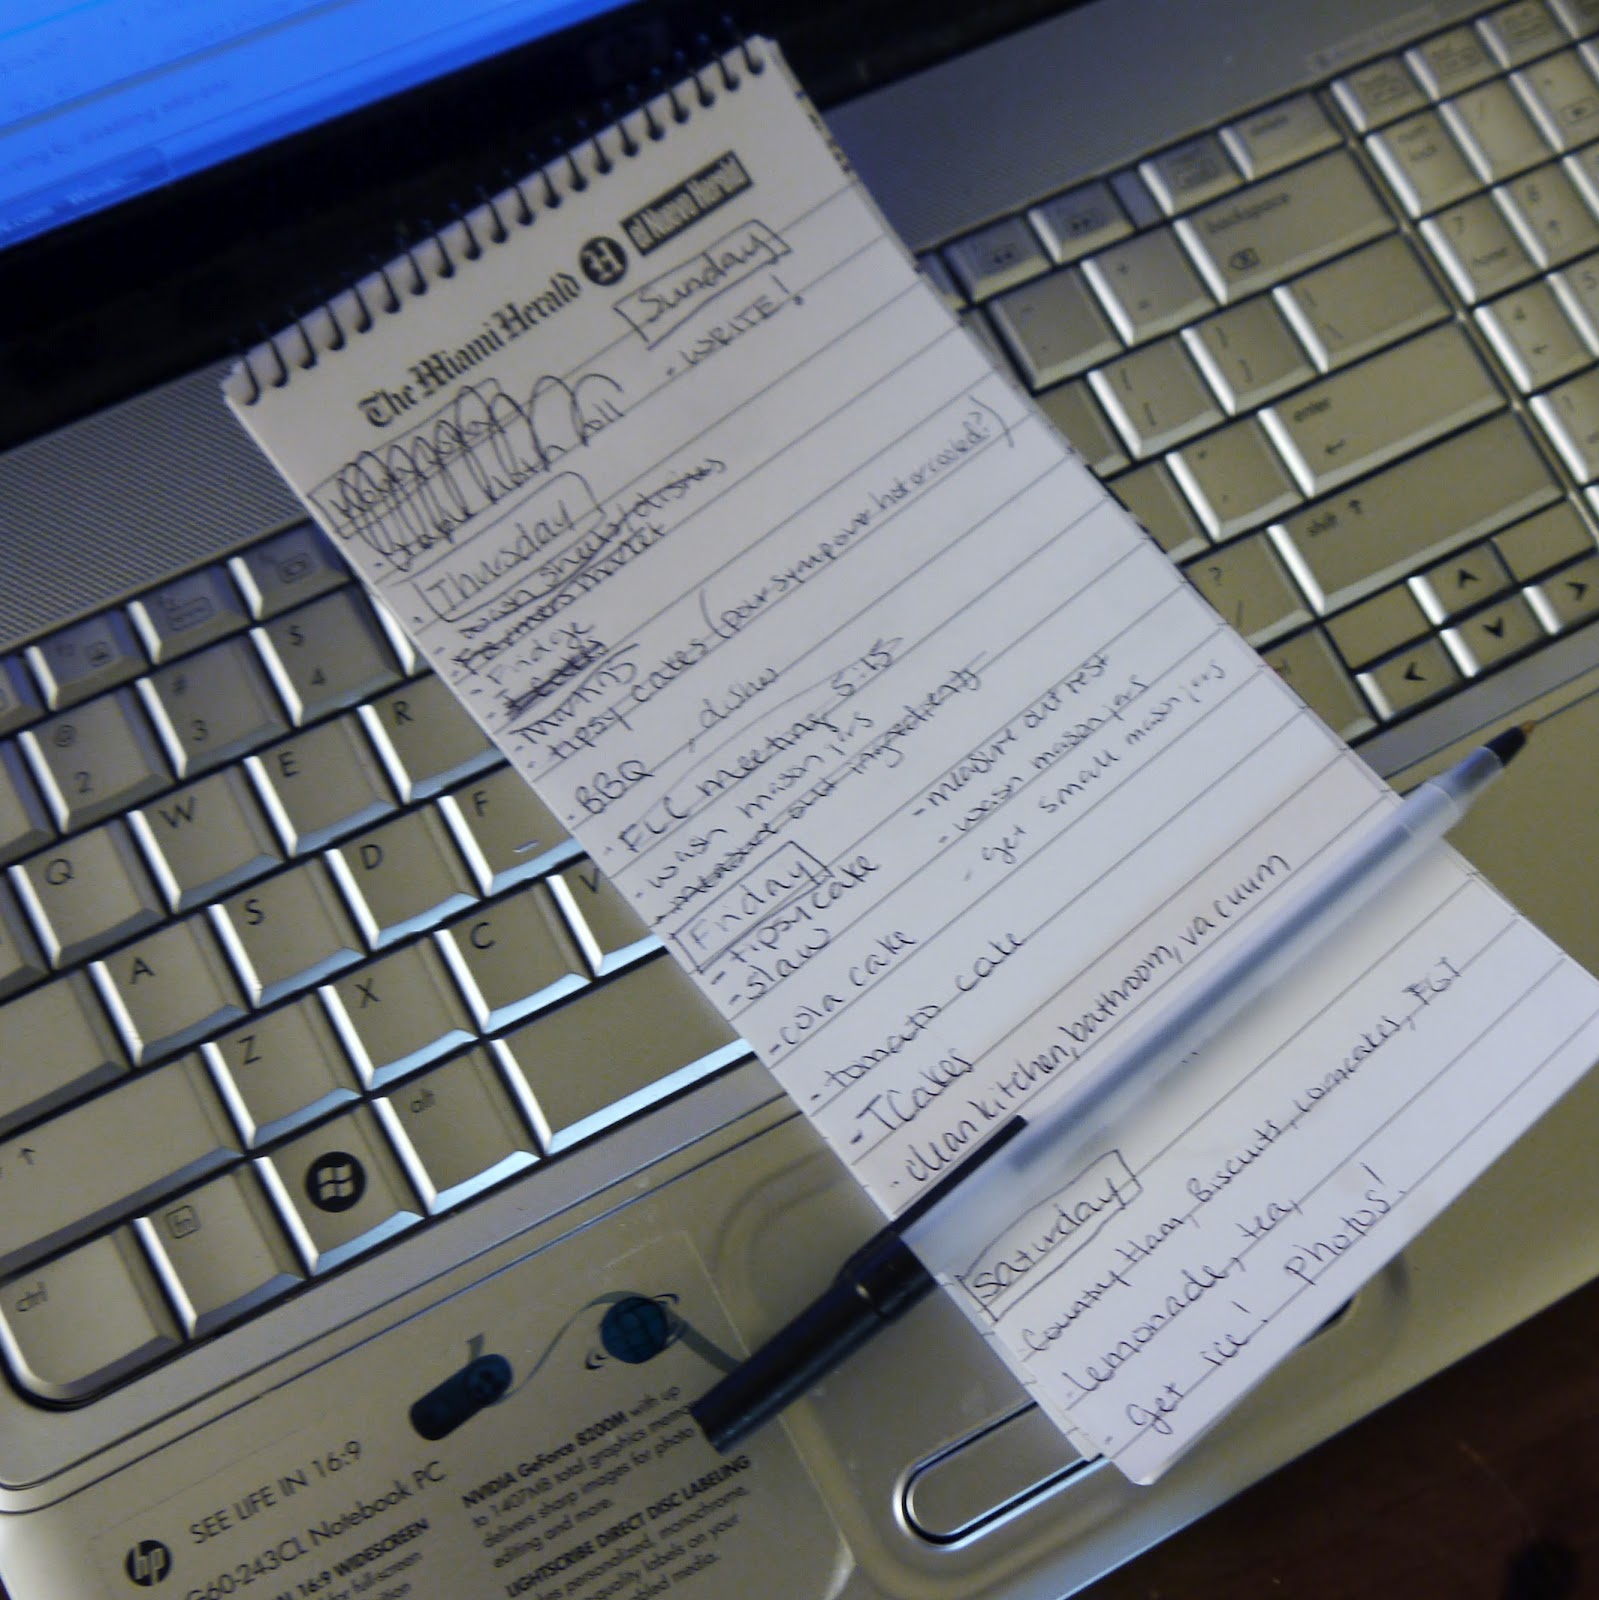
But I'm very good at list-making.
....And re-making....
And every now and then I do something someone with French tips and an ironed apron would do.
Since most of my meal was last-minute-labor-intensive, I capitalized on any little bit of free time earlier in the week by measuring out all the dry ingredients I'd need day-of ahead of time.
This was huge!
~Buying Local~
I admit I imported (by way of visiting family) my country ham from Tennessee, but it was important to me to honor my current location by purchasing as many local ingredients as possible.
Turns out South Bend has a chocolate company. With a hefty load of chocolate goodness on the menu, that would have to be stop number one.
We found apples and dried cherries from neighboring Michigan at the grocery store and hit the South Bend Farmer's Market for eggs, smoked pork shank, and additional produce.
~The Execution~
We may have cut it down to the wire just a bit getting everything set up and ready--I had
planned to set the mood with a soundtrack of my favorite country tunes and completely forgot when go-time approached--but I'd say the night was a success.
The food was everything I love about home.
 |
| Homemade Buttermilk Biscuits and Peach Preserves, recipes follow |
 |
| Build-your-own Redneck Tacos (recipe here), country ham |
For those who are unfamiliar with country ham, it is a very salty cured ham popular in the South. It's sort of like a very thickly sliced prosciutto that is fried up in a skillet and served with bisciuts. It typically comes in vacuum-packages of either two full slices or a bunch of little trimmings, which is what I used for the party. To prepare, add ham directly to a hot skillet over med-high heat and cook 6-10 minutes, flipping halfway through to brown on both sides.
.jpg) |
| Redneck Taco and Vanilla-Bean Lemonade (lemonade recipe follows) |
 |
© 2012 Anderson Design Group, Inc. Used by permission. www.SpiritOfNashville.com
The Loveless Cafe has been a Nashville institution since 1951. |
.jpg) |
| Jack Daniel's Cherry-Chocolate-Chip Tipsy Cake, recipe here |
 |
| Sweet Tea and Vanilla-Bean Lemonade (recipes follow), served in mason jars |
Judging by the cleaned plates and positive feedback cards I collected, I'd say the guests had a good time!
And my greatest efforts would have been for nothing if it weren't for the enduring support and patience of Hoosband and help from my amazing in-laws, the real Secret Ingredients in this endeavor!
So many thanks to Foodbuzz.com for allowing Being the Secret Ingredient to be a part of this month's 24x24 and to everyone who came out to share in the fun! And even the slightly less fun...
It was amazing to get feedback on my Nashville favorites from such a geographically diverse crowd. With guests from all over the country and world, from the East Coast to the West, from England to Japan, the dinner presented new flavors to many. Check out the guest feedback on the upcoming recipes to see what people thought!
Homemade Peach Preserves
You need a beastly blender to pulverize the apple seeds into oblivion (you're using them for the amazing gelling properties in their pectin!). If you do not have a beastly blender, you may wish to either peel and core the apples (or omit them) and use commercial pectin, or to strain your jam over cheesecloth. If you decide to strain the jam, you will be left with jelly rather than preserves, but it will still be tasty.
1/4 cup unsweetened orange juice
2 large apples (I used Galas this time), washed and quartered, with the skins and the seeds (do not remove the core)
1 lb frozen sliced peaches
1 cup sugar
1/3 cup brown sugar
scant pinch salt
scant pinch ground cardamom
Place the juice, apples (and any seeds that may have fallen out), and 1/2 of the peaches in the blender and process on high speed until smooth.
Transfer the mixture to a small-to-medium-sized saucepan, stir in remaining ingredients, and cook 30 minutes over med-high heat, stirring occasionally and using a splatter guard if desired.
Reduce heat to med-low and cook one more hour, stirring occasionally and using a spoon or spatula to slice up the larger pieces of peaches just a bit against the side of the saucepan.
Let cool completely before transferring to an airtight container to store in the fridge for up to one month.
Guest Feedback:
Average Score on a scale of 0-5, 0 being "Never again. Need to set my mouth on fire to extinguish the memory" and 5 being "Woohoo! When can I eat that again?" 4.6
Comments: "Very tasty." "The preserves were to die for."
Buttermilk Biscuits
When we got married I had to convince Hoosband (whose favorite breakfast is biscuits and gravy) we could get by without Bisquick. I won him over with buttermilk pancakes and biscuits from scratch. If you do not have a food processor, you can use a pastry cutter or two forks to cut the butter into the dry ingredients.
3 cups all-purpose flour
1 tsp table (fine grain) salt
1 tsp sugar
1 tsp baking powder
1/2 tsp baking soda
1 cup (2 sticks) cold, unsalted butter, cut into 1/2-inch chunks
1 cup buttermilk
2 T butter, melted
Preheat oven to 425 degrees F.
Place in the flour, salt, sugar, baking powder, and soda in a food processor fitted with a dough blade and pulse a few times to combine (or whisk together in a bowl). Add the butter, and pulse until the largest pieces are roughly pea-sized (or cut the butter in with a pastry cutter or two forks). With the processor on, slowly stream in the buttermilk* through the shoot on top, turning off the machine as soon as the dough comes together. The dough should be soft and slightly sticky, but not overly wet. *
Temperature and humidity can affect how much liquid is actually needed. In warmer kitchens with high humidity, you may need a touch less buttermilk.
Turn the dough out onto a lightly floured surface (I like to work on a silpat or parchment paper), and gently pat into a rectangle.
Don't overwork the dough, as this would be like a steroid shot to the gluten in the flour and would yield a tougher, angrier biscuit. Gentle dough-handling equals tender biscuits. Cover the dough with a piece of parchment paper, and gently roll the dough out to a thickness of about 3/4-inch. Use a pizza cutter to cut the dough into square biscuits of your desired size.
I like for them to be a little irregular, so I don't get too finicky about jagged edges and such.
Gently transfer biscuits to a baking sheet lined with parchment paper, brush with melted butter, and bake at 425 degrees F for 12-15 minutes or till slightly puffed up and light golden on top. Serve immediately. Leftover (completely cooled) biscuits should be stored well-wrapped at room temperature for 1-2 days or wrapped individually in plastic, then foil, and frozen for up to one month in a freezer-safe zip-top bag.
Guest Feedback:
Average Score on a scale of 0-5, 0 being "Never again. Need to set my mouth on fire to extinguish the memory" and 5 being "Woohoo! When can I eat that again?" 4.6
Comments: "So buttery." "Very good biscuits."
Sweet Tea
It doesn't get much more Southern than this.
2 cups water
4 black-tea bags
pinch (about 1/8 tsp) baking soda
1 cup sugar
ice
extra water, preferably filtered
lemons rings or wedges, if desired
Bring water to a boil, add tea bags, remove from heat, and let steep 5 minutes.
Remove tea bags. Add baking soda and sugar to hot tea, stirring to dissolve completely. If the sugar does not dissolve readily, you can put the pot back on the heat, stirring just until the sugar is dissolved.
Fill a large pitcher with ice. Pour the hot tea over the ice, add just enough extra water to fill the pitcher, and refrigerate until ready to drink.
Serve over ice with lemon rings or wedges if desired.
Guest Feedback:
Average Score on a scale of 0-5, 0 being "Never again. Need to set my mouth on fire to extinguish the memory" and 5 being "Woohoo! When can I eat that again?" 4.5
Comments: "Wow, just wow."
Vanilla Bean Lemonade
Okay, this is more a me-thing than a Nashville thing, but I'm from Nashville, so there you go. You will certainly find fresh-squeezed lemonade at many of the down-home Nashville establishments, but the addition of vanilla is something I picked up in college in Auburn, AL, at the iconic corner drugstore and soda shop, Toomer's Drugs, where they'll add any soda-shop flavor shot of your choosing to their legendary lemonade. Vanilla was always my favorite.
1 cup water
1 vanilla bean
1 cup sugar
10 large lemons, rinsed and dried
ice
extra water
Split the vanilla bean, scrape out the seeds, and add the seeds and pod to the saucepan with the water and sugar. Bring just to a boil, stirring until sugar is completely dissolved.
Remove from heat and let cool.
Meanwhile, fill a large pitcher with ice. Juice the lemons into the pitcher over the ice. Pour the vanilla syrup, pods and all, over the lemons and juice, and add just enough extra water to fill the pitcher. Stir to combine.
Refrigerate till ready to drink. Serve over ice.
Guest Feedback:
Average Score on a scale of 0-5, 0 being "Never again. Need to set my mouth on fire to extinguish the memory" and 5 being "Woohoo! When can I eat that again?" 4.4
Comments: "I want it now!" "Too strong! The flavors were tasty, but it was a little hard to drink." "I will be making this quite often." "Too sweet." "Very unique." "Best lemonade
ever!"
For more recipes and information on the food you saw here, stay tuned to Being the Secret Ingredient's upcoming posts!
Thanks for reading! Here's to Being the Secret Ingredient in your life.

.JPG)
.JPG)


.JPG)


.jpg)
.jpg)


.jpg)
.jpg)
.jpg)


.jpg)


.jpg)


.jpg)


.JPG)

yes.JPG)