Showing posts with label appetizers. Show all posts

Friday, August 23, 2013

Goat-Cheese-Stuffed Cherries


As I mentioned in the last post, I received a pretty stellar assortment of summer fruit tools as part of OXO's Blogger Outreach Program. Now I am not required to blog about all (or any) of the tools I receive, but when something makes my life easier and more fruitful (bad pun intended), I want to share.

Last time, I sang the praises of OXO's large fruit scoop, mango splitter, and pineapple slicer, but there was one more tool I simply had to get my hands on before we said adieu to summer: the cherry pitter.

I am a huge fan of fresh cherries, but eating them around my two-year-old can be a bit of a pain. She always wants what Mommy is eating, and giving her a big bowl of cherries with the pits intact is as good as scheduling myself a Heimlich-maneuver practice session. In the past I'd bite around the pit and hand her bits of the flesh as I'd go, or I'd forget about buying cherries in the first place.

Fortunately for me, the cherry pitter has changed all that. Now Oia and I can share a bowl of cherries, our fingers taking on deep shades of crimson, as we watch Dora the Explorer and prepare to take on the world.

This recipe is inspired by my love of the union of dark chocolate, cherries, and goat cheese, and by the easy-to-use OXO cherry pitter. I mean, after you put holes in a whole mess of cherries, it's only right to fill them with something yummy, don't you think?

This recipe can be made in whatever quantity desired, exact measurements not necessary.

The mascarpone adds creaminess, smooths out the texture of the filling, and slightly softens the flavor of the goat cheese. Though often compared to cream cheese, mascarpone tends to have a creamier mouthfeel, and a subtler (less tart) flavor, and a slight, inherent sweetness not found in commercial cream cheese. You could substitute cream cheese for the mascarpone if necessary, but you would probably want to add a little sugar to cut the tartness.


Goat-Cheese-Stuffed Cherries
Fresh, sweet cherries (such as Bing)
Equal parts fresh goat cheese (chevre) and mascarpone cheese, both at room temperature
Very dark chocolate (I used Endangered Species 88% cocoa), for finely chopping or grating

Wash the cherries and pat dry before pitting. Pit the cherries with the stem-sides up.


Beat together the cheeses until smooth and fluffy--the mixture will be somewhat firm but airier and very well combined.


Transfer the cheese mixture into a small piping bag, snip off a small opening at the end, and pipe a small amount of the mixture into the bottom of each cherry. The cherries will sit upside down (stem-side down), with the puffs of filling peeking out from the bottoms (now the tops).


Sprinkle the chocolate over the tops of the stuffed cherries and transfer to a platter to serve or to an airtight container to chill until ready to serve.


The stuffed cherries make an excellent sweet hors d'oeuvre for a cocktail party or a perfect tiny bite to serve with coffee at the end of a large meal. Minus the chocolate, they were also a pretty major hit with my two-year-old, who now can't stop asking for more stuffed cherries--yea! They'll keep well, stored in an airtight container in the fridge for up to 5 days.


Thanks for reading! Here's to Being the Secret Ingredient in your life.

Monday, April 23, 2012

Asparagus, Leek, and Goat Cheese Tartlets


The Setting: A day far too pretty not to be enjoyed outdoors.

The Soundtrack: Disney radio on Pandora.

Steaming up the oven: Nothing right now, but I'm contemplating cookies....

The Scenario: Last night's cooking class was outstanding!

Yesterday Hoosband and I had the privilege of celebrating Earth Day making French tarts, featuring farmer's market finds and the bounties of spring.

I completely regret not getting any action shots of the class, but it was a great group and a great time.

For something on the savory side, we made Asparagus, Leek, and Goat Cheese Tarts with a simple side salad of baby arugula in an Orange-Balsamic Vinaigrette.

Since we only used the tops of the asparagus spears for our tarts and we discarded the overly woody ends, the asparagus "middles" were tossed with a little balsamic vinegar, olive oil, salt, and pepper; roasted; and wrapped by bundles of three in paper-thin sheets of prosciutto--the perfect appetizer to munch on as we baked.

For dessert, delicious Vegan Berry Tarts surprised the class with a tofu-based filling every bit as good as traditional French pastry cream.


Our vegan tart dough was a little crumbly (turns out I left 2 of the 4 T of tofu out of the dough...sorry y'all!), but we churned out perfect little tart shells nonetheless.

Thanks so much to everyone who came to the class. I hope you enjoyed it as much as I did!

Orange-Balsamic Vinaigrette
These measurements are approximate. I usually just wing it and taste it with a leaf of arugula to make sure it's how I want it before tossing it with the rest of the leaves.

1 T orange marmalade or leftover glaze from Vegan Berry Tarts (I used Smuckers)
1 tsp kosher salt
1/2 tsp freshly cracked black pepper
1/2 cup balsamic vinegar
1/4 cup olive oil

Whisk all ingredients together in a large bowl until smooth, add greens of choice (I prefer baby arugula), and toss gently to coat.


Asparagus, Leek, and Goat Cheese Tarts
This recipe looks really long and intimidating, but it is much easier than you think!

~for the crust~
1 1/2 sticks cold unsalted butter
3-6 T cold water
1 2/3 cups whole wheat pastry flour (I used Bob's Red Mill)
1 tsp sugar
1 tsp kosher salt (or 1/2 tsp fine-grain salt)

~for the filling~
8 oz fresh goat cheese
2 large eggs
1-2 T butter
3 leeks
freshly cracked black pepper, to taste
1 1/2 tsp kosher salt (3/4 tsp if using fine-grain), divided
2 cups washed and rinsed asparagus tops, or as much as desired, for topping*

Cut the butter into 1/2-inch cubes, and place in the freezer (for at least 5 minutes) until needed. Place the water in the freezer in a small cup or bowl.

Place a large piece of parchment paper or plastic wrap on your counter.

Fit a large-basined food processor with the dough blade and add the flour, sugar, and salt. Pulse a few times to combine (if doing this by hand, whisk dry ingredients together in a medium-sized bowl).

Add the butter from the freezer to the processor and pulse until the mixture looks like coarse sand, with the largest pieces roughly the size of peas (if doing this by hand, use two forks to cut the butter into the flour, ideally striving to attach butter to every grain of flour without melting the fat).

With the processor on, add 1 T of ice water at a time just until the dough starts to comes together and holds together well when a small bit is squeezed with your fingers (if doing this by hand, continue to use the forks, or switch to a wooden spoon or silicone spoonula).

Turn the dough out onto the parchment or plastic, gently form into a disk, handling minimally, and wrap up tightly in the parchment or plastic. Let chill in the fridge for at least 1 hour or up to 8 (you can freeze the dough at this point if making ahead, but just be sure to thaw in the fridge overnight before using).

Preheat the oven to 350 degrees F, and line 20 standard-sized muffin cups with muffin liners--do not grease.

Roll out the dough between two sheets of parchment paper to a 1/8-1/4-inch thickness (just a little thinner than what you see below).


Use a 3-inch round cookie cutter or jar lid to cut out as many circles as you can, re-rolling dough as necessary (you should end up with 20 circles and a tiny nugget of scrap dough).

Carefully fit each circle into a prepared muffin cup. Poke the bottom of each shell all over with the tines of a fork, and bake at 350 degrees F for 20 minutes or until cooked through but still pale-ish in color. Place on cooling racks and allow to cool completely. Increase oven temp to 375.


To make the filling, set the goat cheese and eggs out at room temperature while you prepare the leeks.

Thinly slice the white and very light green parts of the leeks and rinse very well in cool water to remove any grit. If your leeks look dirty, it may be necessary to set them in a strainer in a large bowl of cold water and let them soak for 5-10 minutes. Discard the darker green parts of the leeks.

Place the rinsed leeks, butter, and black pepper in a large saute pan over med-high heat. Cover and cook 10 minutes. The leeks should be just beginning to blacken in parts along the bottom of the pan--don't worry, this is what you want. Stir in 1/2 tsp kosher salt, reduce heat to low, cover, and cook 10 minutes more. Remove from heat, partially uncover, and allow to cool.


Beat together the goat cheese, eggs, and remaining kosher salt until smooth and creamy. Add the leeks and beat just to incorporate.

Spoon the leek mixture into each prepared tart shell so that it fills the basin and covers the top edges.

Stick 1-3 asparagus tops into the centers of each tart, or decorate as desired.

Bake at 375 degrees F for 25 minutes or till cooked through and very lightly golden on top.

Finish with a sprinkle of coarse black pepper, if desired. Serve warm, room temperature, or cold. Store leftovers in an airtight container in the fridge for up to one week.


*To do the swirly design seen in the first photo, use a mandolin to thinly slice long, fettuccine-like strips of blanched asparagus; tightly roll up one strip at a time, and immediately press into the filling. continue until you have achieved your desired design. I also tried simply mounding up the asparagus ribbons on top of the tarts, but this was rather unpleasant to consume.


Thanks for reading! Here's to Being the Secret Ingredient in your life!

Monday, April 16, 2012

The Journey Down the Mekong River Begins!


The Setting: An apartment in need of a good vacuuming, as grains of white rice and other bits of debris from the weekend's culinary adventures are surely lurking in places where a curious, crawling monster is certain to find them.

The Soundtrack: Winds, raging outside my open window to a tune that the wildly rollicking tree limbs never knew they could play.

Steaming up the (microwave) Oven: Water for tea; It's a Lemon Zinger kind of day.

The Scenario: If you read the reference in my last post to a sheet of rice in my oven, you may have wondered what that was all about. You may have even wondered why the heck it was taking me so long to post about it as promised.

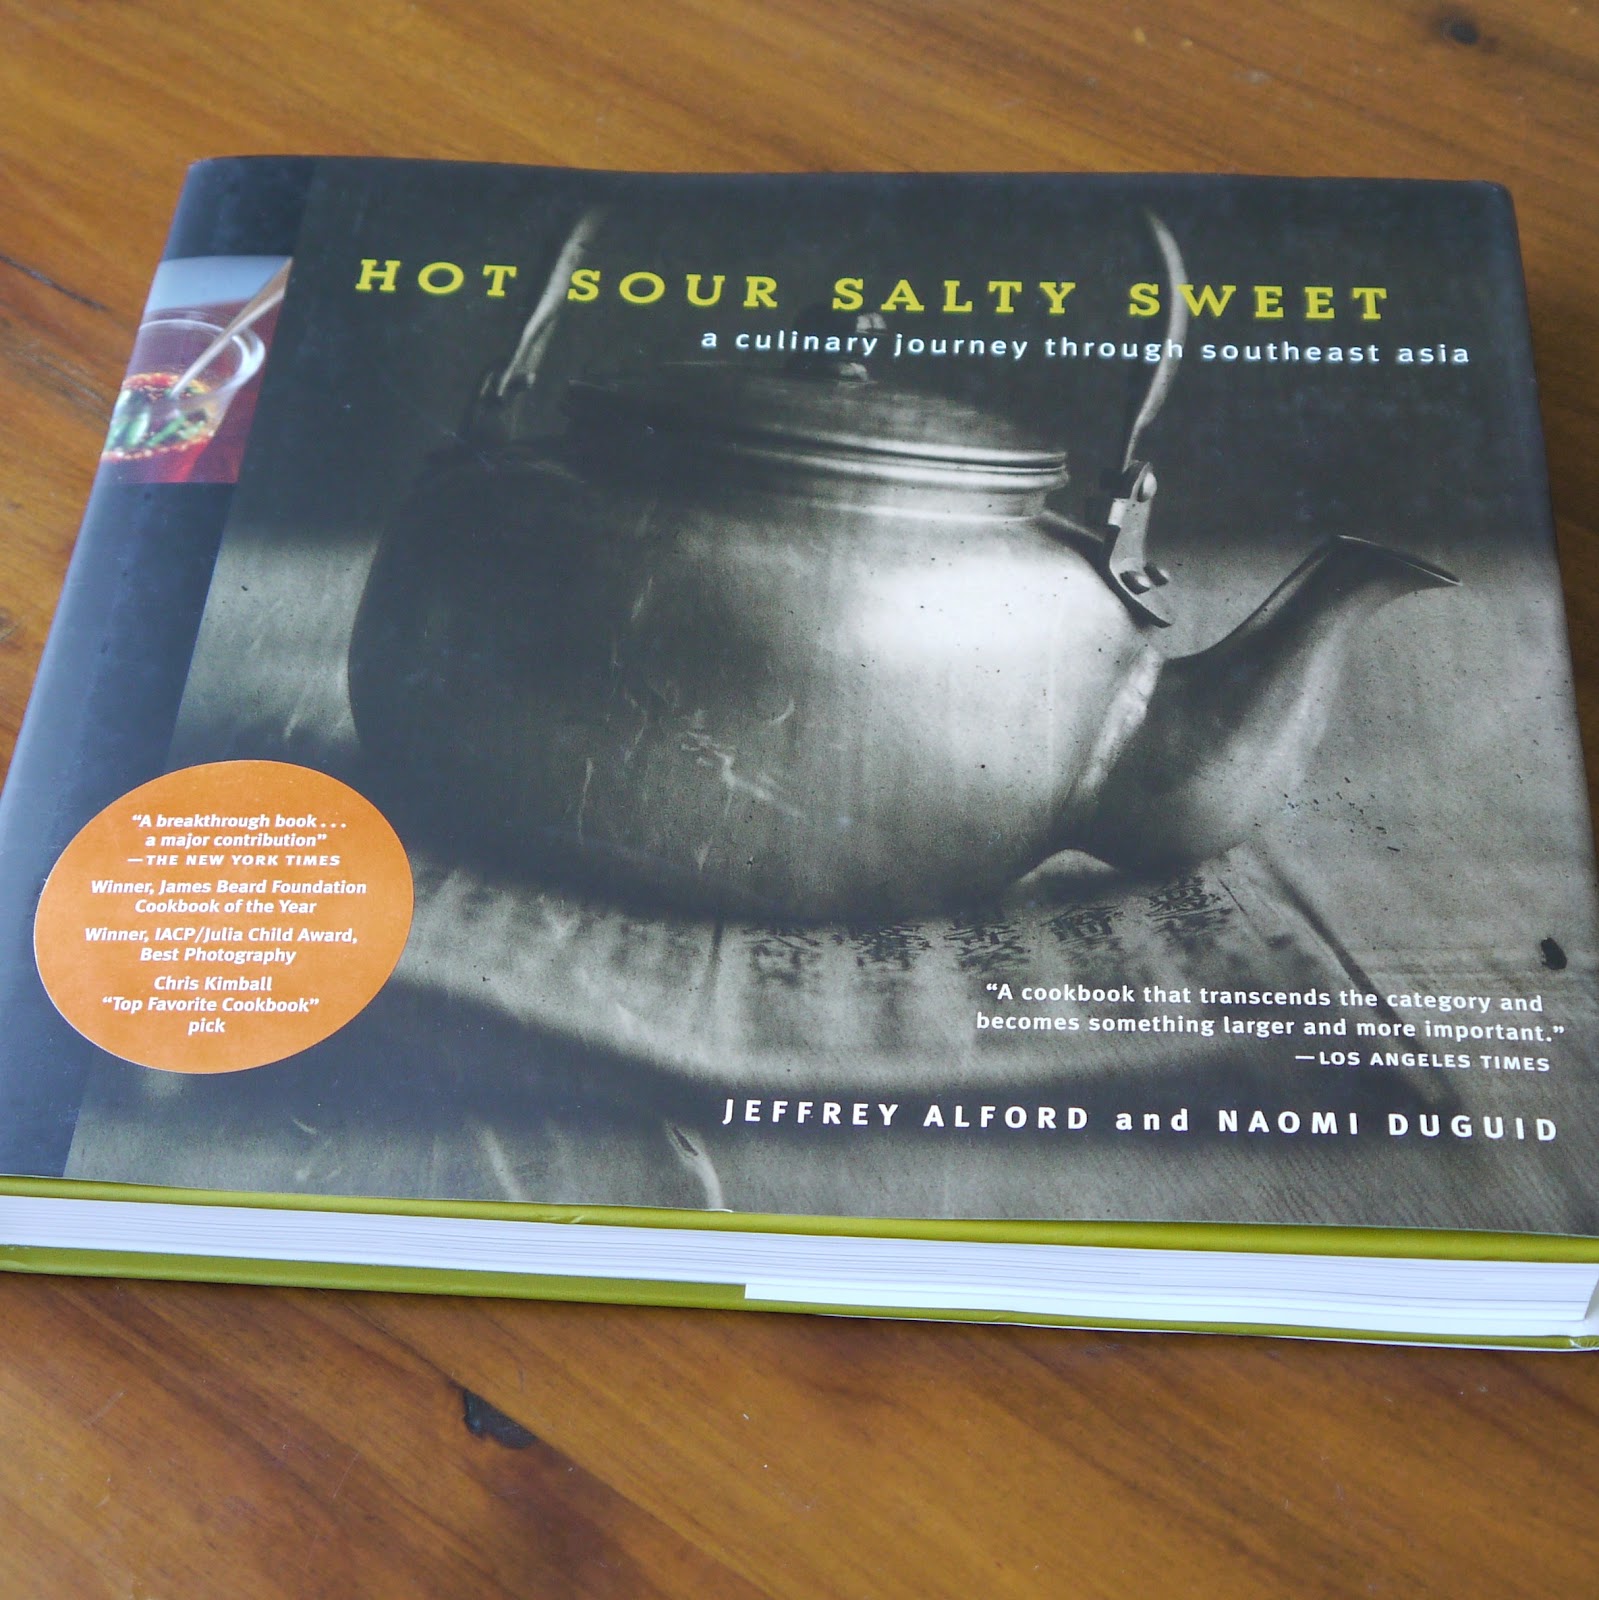
Well, today I am pleased to answer those questions, and in doing so, to invite you on a tasty trip down the Mekong River, as we dive into Hot Sour Salty Sweet (a Culinary Journey through Southeast Asia) by Jeffrey Alford and Naomi Duguid.


When I began to peruse this enormous culinary tome that reads half like a cookbook and half like an anthropological travel guide through Southeast Asia, I could tell it would take a while to select the five or so recipes I'd post on the blog.

Where to begin?!

Should I approach the recipe selection geographically, beginning with a dish from China or Myanmar and working my way down through Laos, Thailand, Cambodia, and Vietnam?

Should I stick with one region and explore it in depth?

I decided, at last, to approach the task as the book does, organizing recipes into standard categories of appetizers, salads, main courses, and desserts, and celebrating the ties the unique regional cuisines share with each other through the artful mingling of tastes: hot, sour, salty, and sweet.

Today I offer you a delicious appetizer of nam mi he man, or Grilled Tomato Salsa, from the Dai area of Southern Yunnan, China; and khao tang, or Crispy Rice Crackers, from Laos and Thailand.

These dishes, as you would expect, primarily play up the tastes of salty and hot, but charring the garlic and tomatoes before making the incredibly simple salsa helps to slightly concentrate and highlight their inherent sweetness as well.

With a flavor somewhat reminiscent of homemade popcorn, the Thai-Lao Crispy Rice Crackers are a delightful alternative to tortilla chips...if, that is, you can manage to make them.

It took me three tries (and most of the weekend), but my final batch was a big success. Check out the end of the post for my blooper reel and tips to help you avoid my blunders.

The following recipes are reprinted with permission from Artisan Books; I have added my notes in red.


Grilled Tomato Salsa (nam mi he man--Dai area of Southern Yunnan)

4 cloves garlic
3 medium juicy tomatoes
1 to 2 Serrano or bird chiles, minced (optional) I used 1 Serrano with the seeds and membranes
1/2 tsp salt, or to taste
1/2 cup chopped coriander (cilantro)

Heat a charcoal or gas grill. Place the garlic and tomatoes on a fine-mesh rack on the grill and grill until well blackened in spots on one side, then use tongs to turn them. Continue to cook, turning the tomatoes as necessary to expose all sides to the heat, until the garlic and tomatoes are well scorched and softened, 8-10 minutes. Alternatively (I used this method), heat a heavy skillet over high heat. Place the garlic and tomatoes in the skillet and lower the heat to medium-high.


As soon as the garlic and tomatoes blacken on one side, use tongs to turn them and cook, until well scorched and softened, 8 to 10 minutes.


Peel the garlic, chop or mash, and place in a food processor. Coarsely chop the tomatoes, saving the juice, and add the tomatoes and juice to the processor. Add the chiles, if using, and pulse several times to blend; do not process to a puree. Transfer to a bowl and stir in the salt. Store refrigerated no more than 2 days.

Stir in the coriander just before serving.

Makes 1 1/2 cups salsa.

Excerpted from Hot Sour Salty Sweet by Jeffrey Alford and Naomi Duguid (Artisan Books). Copyright 2000.


Thai-Lao Crispy Rice Crackers (khao tang--Laos, Thailand)

2 cups or more just-cooked jasmine rice I used 2 cups "enriched white long grain rice"
Peanut or other oil for deep-frying I used peanut oil

Use warm to hot rice. With a rice paddle or wooden spoon, spread rice onto a lightly oiled baking sheet to make a layer about 1/2 inch thick. Press down with your paddle to compact the rice so that it sticks together. Don't worry about ragged edges, as you will be breaking up the rice into large crackers after it dries. My rice was very sticky and hard to spread out; with my final batch I lined the baking sheet with parchment paper, and I found that if I wetted my hands and used them to gently pat out the rice, re-wetting as necessary, the rice was easier to work with--just be careful, as the rice is hot. Also, press the grains so that they stick together, but avoid compacting the grains too much, as this results in tougher crackers.


Place the baking sheet in a preheated 350-degree F oven and immediately lower the temperature to 250 degrees F. Let dry for 3 to 4 hours. The bottom will be lightly browned. I left my final batch in for 2 1/2 hours. The top was drier and more off-white in color, while the bottom was stickier and whiter.

When the rice is dry, lift it off the baking sheet in pieces.


Break it into smaller pieces (about 2 inches across, or as you please), then store well sealed in a plastic bag until ready to use. I waited a day before frying my successful batch.


To fry the crackers, heat 2 to 3 inches of peanut oil in a large well-balanced wok, deep fryer, or large heavy pot to 325 to 350 degrees F.

To test the temperature, drop a small piece of fried (dried) rice cake into the oil: It should sink to the bottom and immediately float back to the surface without burning or crisping. Adjust the heat as necessary.


Add several pieces of dried rice cracker to the hot oil and watch as the rice grains swell up. When the first sides stop swelling, turn them over and cook on the other side until well puffed and just starting to brown (about 30 seconds in all). Use a slotted spoon to remove them immediately to a paper towel-lined platter or rack to drain.


Gather up any small broken pieces; these make delicious croutons. Fry the remaining pieces of rice cracker the same way, making sure that the oil is hot enough each time. Serve hot and fresh, to accompany soup or salsa. Store in a cool place for no more than a week.


Excerpted from Hot Sour Salty Sweet by Jeffrey Alford and Naomi Duguid (Artisan Books). Copyright 2000.

Bloopers

I admit I've been on Hoosband-enforced rice-cooking probation for most of my marriage due to my lack of finesse with the finicky grain. So if someone was going to mess this recipe up, it's no surprise that it would be me.

Mistake number 1: I disregarded the recipe's call for jasmine rice and used the generic white rice I had on hand. I got the recipe to work in the end, but had I followed instructions from the beginning, perhaps it wouldn't have taken all weekend.

Mistake number 2: Speaking of following directions, if I'd only followed those printed on the bag my generic white rice came in, I might have avoided the gluey mess that was batch one.


You want to start with rice, not rice pudding. I boiled too much rice in too much water for too much time, spread the starchy mess in a well-greased jellyroll pan, and found THIS 3 hours later:


You are looking at one of TWO midnight-blue alien rice circles that materialized while this bad boy was in the oven. Someone call Mulder and Scully.

Freakish occurrences aside, it's likely sheet one would have been scrapped anyway, as the top and edges were a shatterable sheath atop a gross, goopy interior.

Once I made my peace with the instructions on the side of the bag and produced something recognizable as rice, I thought I had the recipe tied up with a bow. I used less rice and spread it out on an un-rimmed baking sheet to facilitate the drying.


I popped this sheet in the oven and came back 3 1/2 hours later to a dry and spot-free sheet of rice. Woohoo!

Mistake number 3: Despite promising appearances, it soon became clear the rice had over-dried. The crackers sank to the bottom of the frying oil like anchors and never rose back up. Eventually I fished them out to give one a taste.


Not something I recommend; my teeth still feel violated.

However, biting into savory success in round three made up for all the failures.

My suggestions: Follow directions when making your rice, use wetted hands to gently pat out the rice on a parchment-paper-lined unrimmed baking sheet, and check the rice after 2 1/2 hours--it should be just dry enough that you are able to lift up and break off large pieces as directed.

May your first batch be as tasty as my third!


Stay tuned for more exciting exerpts from this delightful cookbook as the journey down the Mekong continues.

Thanks for reading! Here's to Being the Secret Ingredient in your life.