Showing posts with label coconut oil. Show all posts

Thursday, October 10, 2013

AMAZING Pumpkin Tartlets (Vegan, Gluten-Free, and Fabulous!)


Yes, that's right. I said AMAZING.

As we know, I've been on a bit of a tartlet fix (as seen here and here)--and I'm planning at least two more before I force myself to find a new obsession--so I hope you're enjoying them.

In my estimation, the previous tartlets have been good. The chocolate crust on the pistachio tartlets was Oreo-esque in its crave-ability, and the smooth, custard-like filling in the lime tarts made me want to send my cans of sweetened condensed milk sailing straight into the trashcan.

So what warrants the title of AMAZING in today's tartlets?

1) Like both the pistachio and lime tartlets, these tartlets are gluten- and grain-free, loaded with vitamins and minerals, and jam-packed with filling protein and beneficial fats.

2) They contain only natural, minimally processed sweeteners.

3) Unlike the pistachio or lime tartlets, these tartlets are totally vegan-friendly.

4) Amazingly, in light of all of the above, they taste better than pumpkin pie!

That last one is my completely biased opinion, of course, but I hope when you try them, you'll agree.

Here are a few keys for success in this recipe:

1) Use roasted, salted pepitas (shelled pumpkin seeds) and raw, unsalted cashews and pecans (otherwise you will need to adjust the salt). Raw nuts retain more of their natural antioxidants, but roasted pepitas have a deeper flavor and make for a crunchier and more attractive garnish.

2) Pulse the crust mixture in the food processor until you achieve the proper consistency. This will assure you do not create nut butter in this step. You are looking for fine, evenly textured crumbs.

3) Process the cashews for the filling into a smooth nut butter with the coconut oil before adding the remaining filling ingredients. Be sure to pause occasionally to scrape down the sides and knock some of the cashew bits out of the lid to achieve the smoothest consistency.

4) Let the tarts set in the fridge for at least 3 hours before preparing the caramel topping. This will allow the surface of the filling to firm up, making it easier to spread the caramel.

5) Heat the caramel mixture slowly over med-low heat so that it does not scorch. As soon as bubbles start to burst across the surface, cook for two minutes and then remove from the heat.

6) Keep the tarts chilled in the fridge until ready to eat.

With the silky texture of pumpkin pie in an all-natural, health-conscious, no-bake, easy-to-make, individually portioned format, these amazing tartlets are definitely something to be thankful for this holiday season.


 Amazing Pumpkin Tartlets

for the crust:
1/4 cup raw, unsalted cashews
1/2 cup raw, unsalted pecan halves
1/4 cup roasted, salted pepitas (shelled pumpkin seeds)
3 T coconut palm sugar
1/2 tsp ground Saigon cinnamon (aka cassia; real cinnamon would be fine as well)
2 T coconut oil, at warm room temperature so that it is liquid

for the filling:
2/3 cup raw, unsalted cashews
2 T coconut oil, at warm room temperature so that it is liquid
2/3 cup pure pumpkin puree (not pumpkin pie filling; to make your own roasted pumpkin puree, see this post)
1 tsp freshly grated ginger root
1/2 tsp Chinese five spice powder (look for one that contains cinnamon, black pepper, star anise, fennel, and cloves)
1/2 tsp finely ground salt
5 T pure maple syrup

for the garnish:
1/4 cup coconut palm sugar
2 T water
1/3 cup roasted, salted pepitas

Place muffin liners in each of six large muffin cups. I use regular-sized muffin liners in large cups--the larger cups allow the liners to lay out a little wider. If you do not have a large-cup muffin pan, just use six cups in a standard-size muffin pan.

Place all the crust ingredients except for the coconut oil in the food processor and pulse until the pieces are almost uniform in size and the mixture resembles very coarse sand. 


Add the 2 tablespoons of coconut oil and pulse until the mixture resembles moist sand. 


When it is the proper consistency, it will easily stick together when pressed between your fingers.


Divide the mixture evenly among the six prepared muffin cups, firmly pressing the mixture into the bottoms and up the sides to form mini tart shells. 


Chill the crusts in the refrigerator while you prepare the filling.

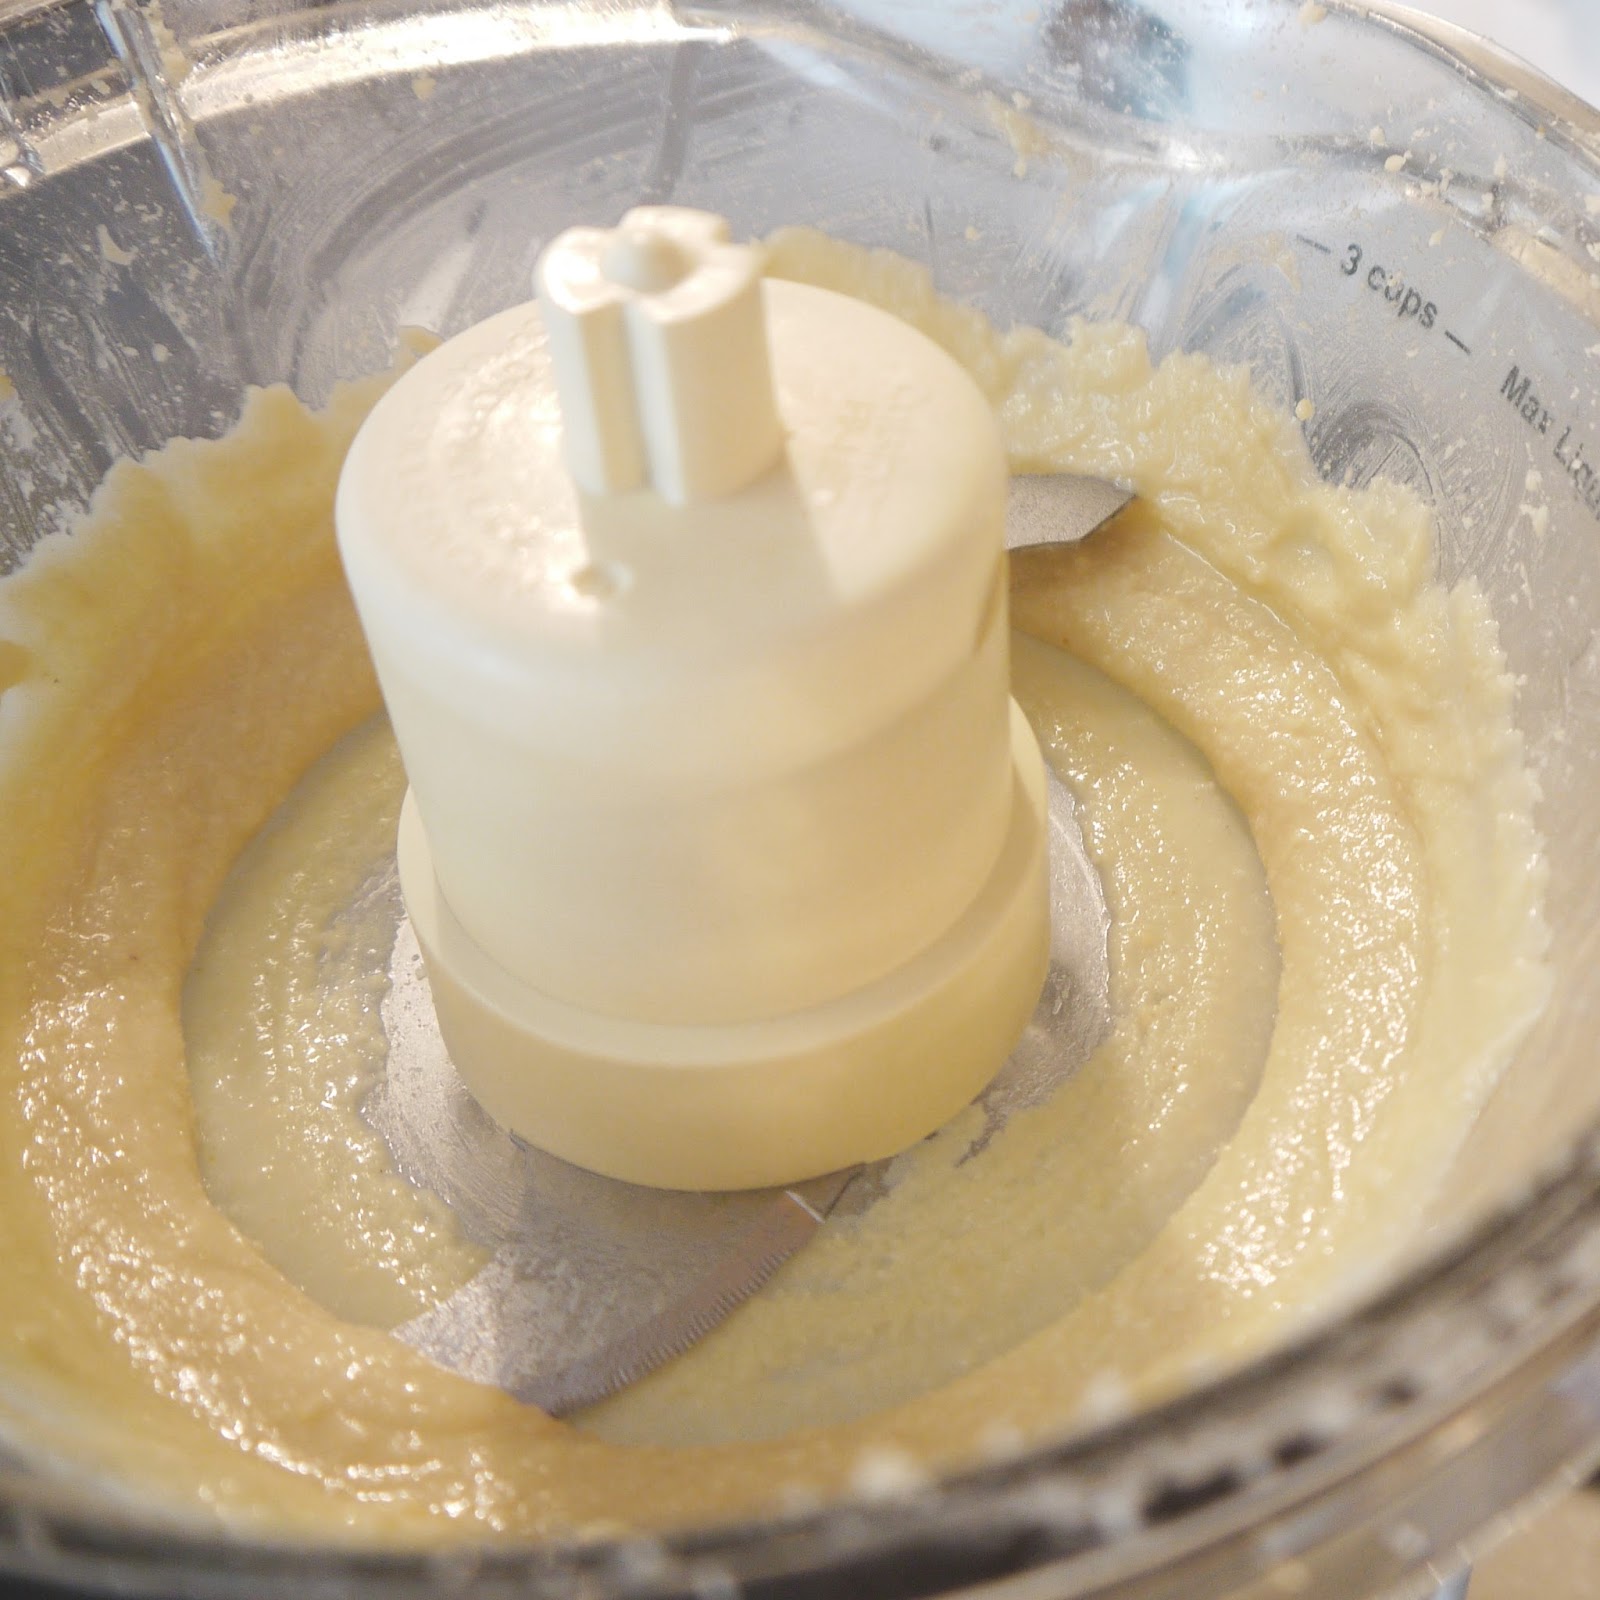
Rinse out and pat dry the food processor bowl, blade, and lid. Add 2/3 cup cashews and 2 T coconut oil to the processor and process until you have a very smooth nut butter, making sure to pause once or twice to scrape down the sides and lid. 


Add the remaining filling ingredients and process until completely smooth, pausing to scrape down the sides as necessary. 


Spoon the filling evenly among the six crusts and let set in the fridge for at least three hours before garnishing.


To prepare the caramel, add 1/4 cup coconut palm sugar and 2 T water to a small saucepan. 


Stir to dissolve the sugar, and place over med-low heat, lifting the pan by its handle and swirling gently on occasion. 


As soon as bubbles begin to burst across the surface of the mixture, set a timer for two minutes. 


After the mixture has boiled for two minutes, remove from the heat and allow to cool for five minutes before spooning over the chilled tartlets. 


Sprinkle roasted, salted pepitas over the tops of the tartlets, and return them to the fridge to set completely, at least one hour, or until ready to eat. 


The tartlets will last up to 5 days, stored in airtight containers in the fridge, and should remain chilled until served.


Thanks for reading! Here's to Being the Secret Ingredient in your life.

Monday, September 16, 2013

Macadamia-Coconut-Lime Tartlets


It's official: I have tartlet fever.

If you read my recent Chocolate, Pistachio, and Mascarpone Tartlets post, you saw my attempt at a semi-healthy dessert, perfectly portioned for those who crave moderation, and rich and delicious for those who crave decadence. 

In addition to moderation and decadence, Hoosband and I have been craving desserts we actually feel good about sharing with our two-year-old. These particular tartlets are made from nuts, coconut, coconut oil, lime juice, and a modest combo of unrefined sweeteners. I feel pretty good about that. 

Their coconut-lime flavor profile is inspired by a frozen drink Hoosband and I had years ago on our honeymoon in Mexico called a white sand--something else I've been craving. 

Macadamia nuts pair well with the flavors of coconut and lime, while adding creaminess and body to the filling and structure and crunch to the crust. 

Like the chocolate-pistachio tartlets, today's tartlets are no-bake and grain/gluten free. With the subtraction of the mascarpone, however, these tartlets are also dairy-free, though still not technically raw or vegan, due to the coconut palm sugar in the crust and the honey in the filling, respectively.

It is important to use virgin coconut oil in this recipe, as refined coconut oil lacks the essential coconut flavor and aroma. 

Due to their high coconut-oil content, these tartlets require at least 8 hours in the fridge to set up and should be stored in the fridge right up until consumption for best results. When the filling is set, the texture should be like a cross between lime curd and custard, similar to a key lime pie, and firm enough to slice if desired.

The tartlets can also be frozen overnight, resulting in a much firmer, more ice-cream-like texture.


Macadamia-Coconut-Lime Tartlets

for the crust
2/3 cups grated coconut (raw and unsweetened)
3 T coconut palm sugar (substitute with brown sugar if desired)
1/4 tsp fine salt
2/3 cups raw macadamia nuts
2 T virgin coconut oil

for the filling
2/3 cup raw macadamia nuts
1/4 cup freshly squeezed lime juice
1/4 tsp freshly grated lime zest (try to avoid using any of the white pith)
3 T honey (I used Texas brush honey)
1/4 cup virgin coconut oil

Place muffin liners in each of six large muffin cups. I use regular-sized muffin liners in large cups--the larger cups just allow the liners to lay out a little wider. If you do not have a large-cup muffin pan, just use six cups in a standard-size muffin pan.

Place 1/3 cup grated coconut, the coconut palm sugar, and salt in the bowl of a food processor, and process till very finely ground. Add 2/3 cup macadamia nuts, the coconut oil, and remaining grated coconut, and process just until the nuts are ground to very small pieces and the mixture looks like very coarse, damp sand. 


Be sure not to over-process the mixture, as it will become nut butter and be too goopy to work with. If this does happen accidentally, add a an extra 3-4 tablespoons of grated coconut and pulse just enough to combine. The coconut will absorb some of the excess liquid and add more structure.

Divide the mixture evenly among the six prepared cups (1 1/2-2 T per cup). 


Use your fingers to press the mixture firmly into the bottom and about 1/2 inch up the sides of each cup.


Chill while you prepare the filling. 

Rinse and dry the food processor bowl, blade, and lid. Place 2/3 cup macadamia nuts in the processor and process until very smooth, the consistency of freshly ground peanut butter. 


Add the remaining filling ingredients and process until completely smooth. 


Pour the filling into the tart shells, dividing it evenly among the six cups. 


Place the muffin tin in the refrigerator and chill for at least 8 hours or till set. 

Store the set tartlets in airtight containers in the fridge until ready to serve, up to one week. 


If desired, garnish with some finely chopped macadamia nuts and fresh lime zest, or try a dollop of Whipped Coconut Cream.


Makes 6 tartlets.

Thanks for reading! Here's to Being the Secret Ingredient in your life.

Tuesday, September 3, 2013

Toasted Hot-Sauce Popcorn


Hoosband and I love to make our own popcorn. We can make it as healthy or fat-drenched as we like and customize the flavor profile to our daily whims.

Our favorite way to eat it? Doused in hot sauce.

We are hot-sauce junkies around here, so we don't mind if a few of the puffs of popped corn become a bit soggy in the process. Thinking about sharing our favorite flavor with others, however, I wanted to come up with a way to deliver a more crowd-pleasing, evenly dispersed, slightly heat-tamed, non-soggy hot-sauce experience.

The kernels start completely naked in the microwave (thank you, Pinterest) and are then transferred to a baking sheet, where they receive an even misting of a hot sauce and oil mixture before getting a quick toast in a 325-degree-Fahrenheit oven--sayonara, Sogginess.


Toasted Hot-Sauce Popcorn
3 T cooking oil (if using coconut oil, make sure it is warm enough to be free-flowing)
4 T hot sauce
3 T popcorn kernels
fine-grain salt, to taste

Preheat the oven to 325 degrees F and line a rimmed baking sheet with parchment paper.

Use a funnel or spouted measuring cup to add the cooking oil and hot sauce to a clean, food-grade spray bottle. Set aside. You will not use all of this mixture, but the spray-feature will work better with a little extra in the bottle. Excess mixture can be used for another purpose--try tossing with sweet potato spears, salt, and pepper before roasting for a yummy side dish!


Place the popcorn kernels in a large, microwave-safe bowl and cover with a microwave-safe plate.


Microwave for three minutes or until there are 30 seconds between audible "pop"s. Transfer the popped corn to the prepared baking sheet. Any un-popped kernels may be microwaved again if necessary.


Spread the popcorn out in an even layer on the baking sheet.


Make sure the top is tightly screwed onto the spray bottle and shake very well to emulsify the hot-sauce mixture. Do a few test-sprays into the sink, adjusting the spray nozzle as necessary to achieve an even mist. Shake once more if necessary, and evenly spray the mixture over the popcorn, coating lightly. Sprinkle evenly with fine salt.


Toast the popcorn at 325 degrees F for 4 minutes. Repeat the spraying and toasting once more for greater flavor, if desired. Serve immediately.


Makes about 3 cups of popped corn.

Thanks for reading! Here's to Being the Secret Ingredient in your life.