Showing posts with label homemade oreos. Show all posts

Friday, January 18, 2013

We all Scream for Homemade Cookies and Cream


The Setting: Another beautiful, blue-sky day, best enjoyed indoors with a cup of hot tea and the furnace cranked up.

The Soundtrack: Bobby Deen's new show on the Food Network. He just showed a clip of Paula making Country Fried Steak, and now I want it so badly my stomach is in knots.

On the Stovetop:
Hoosband's cabbage and white bean soup.

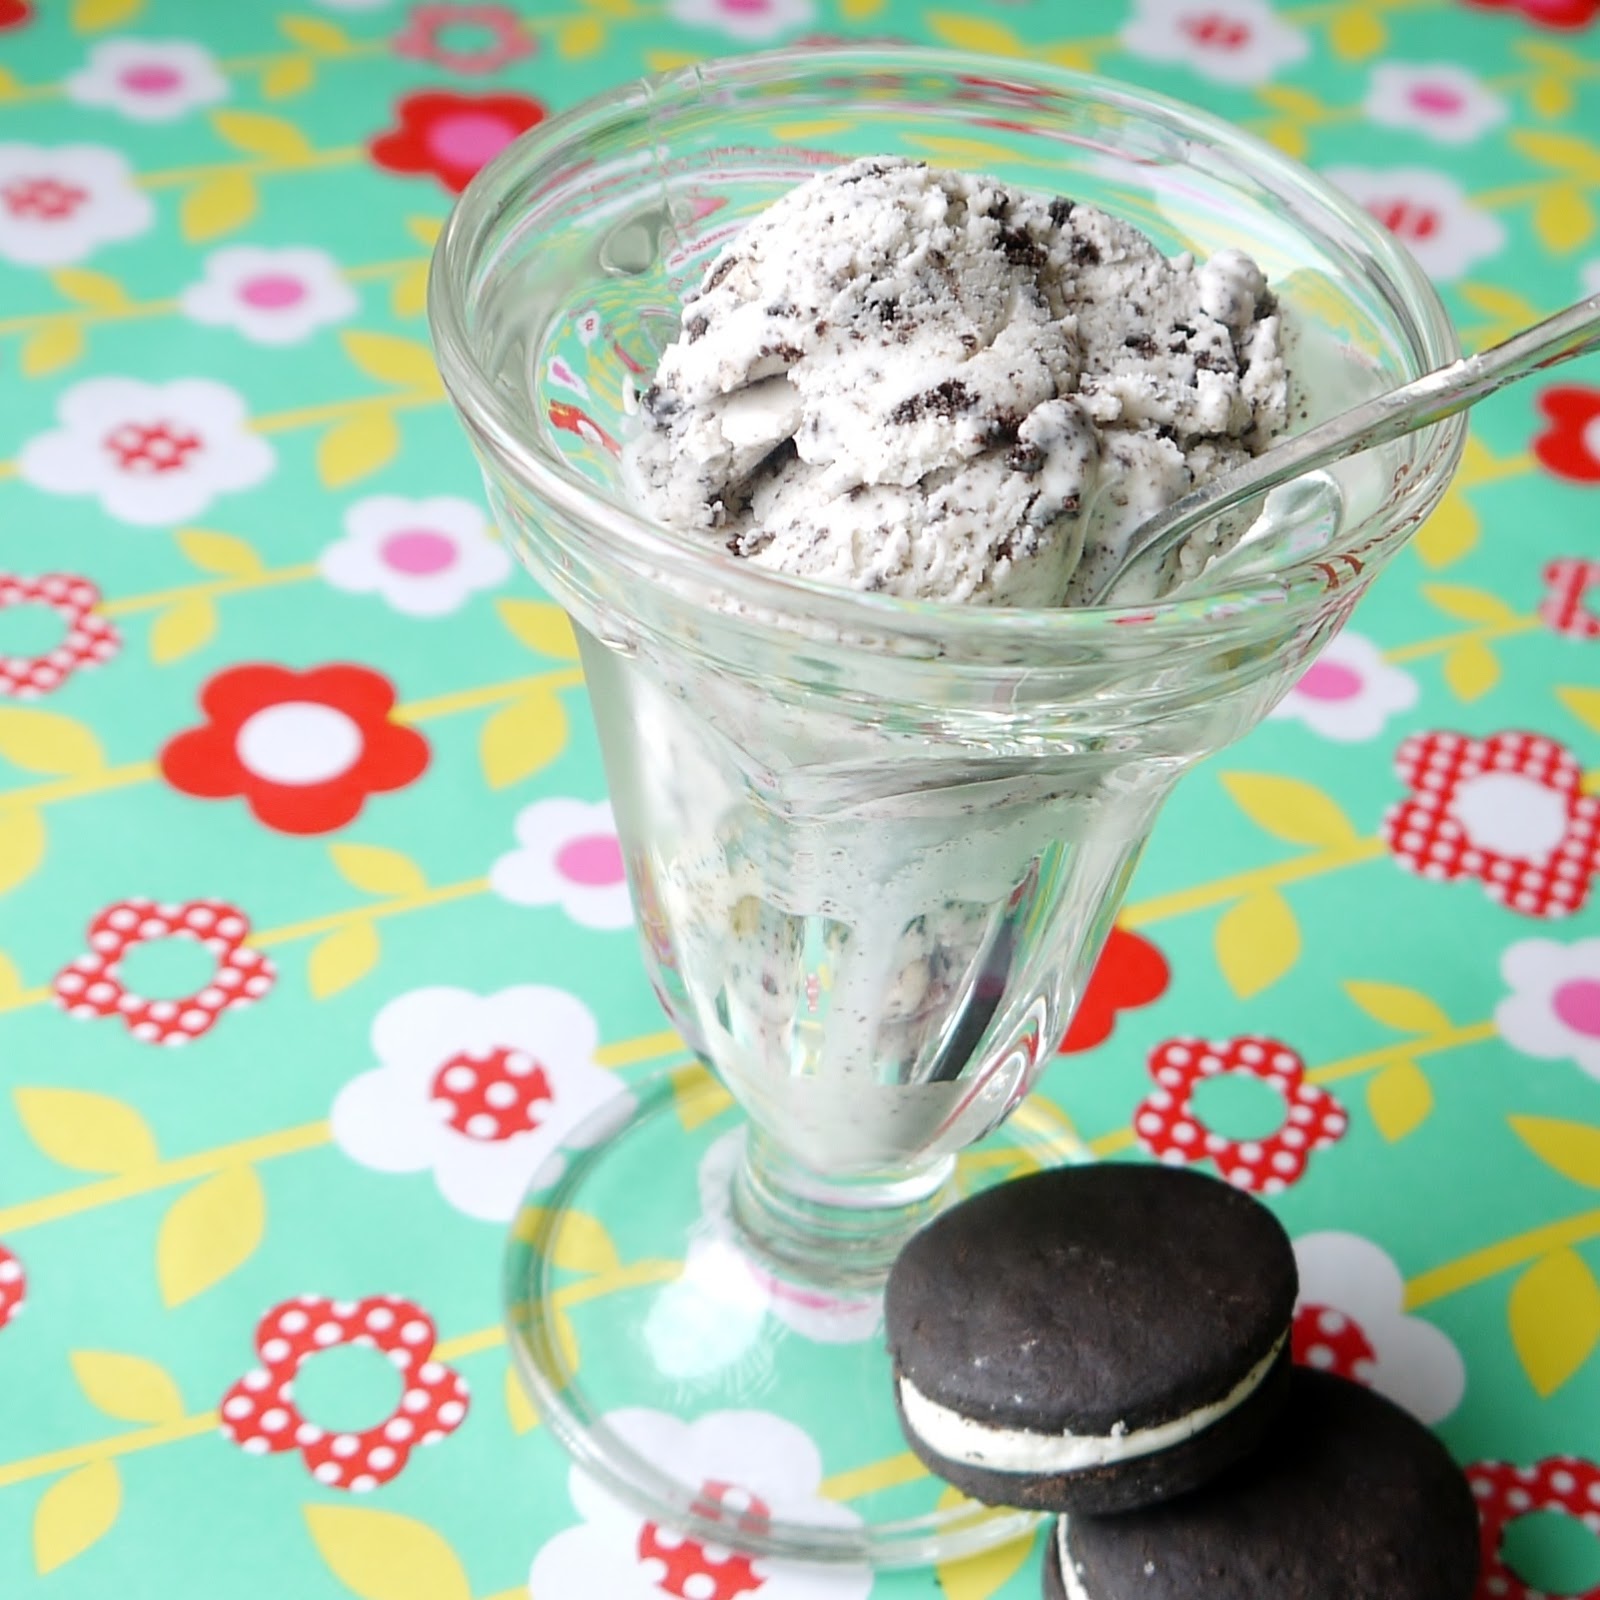
The Scenario: What's better than Homemade Oreos? Cookies and Cream Ice Cream made with Homemade Oreos, of course.

It's not likely you're going to make a batch of Homemade Oreos and think, "Now, what am I going to do with all these?" I mean, they're Oreos...only better.

I could easily have eaten my entire first batch within a week--and with Hoosband's help, they wouldn't have lasted half that long--but I had a mission. I imagined the cookies would make an out-of-this world addition to ice cream, and I simply had to confirm my suspicions.

The concept was straightforward enough: mix crumbled cookies into vanilla ice cream. But what ice-cream recipe to use?

My own vanilla ice-cream recipe, which begins with more of a custard or creme-anglaise-like base, served me well in my beloved Brown Bread Ice Cream, but I felt like its egg-yolk-fortified richness was somehow wrong for this particular application. Thus--and this should be no surprise to anyone who follows this blog with much regularity--I turned to Jeni.

On page 148, in the "Winter"  chapter of Jeni's Splendid Ice Creams at Home, I found the answer: Ugandan Vanilla Bean Ice Cream.

Jeni's egg-less, cream-cheese-fortified recipe would produce a perfectly balanced, vanilla-bean backdrop for my cookie crumbles.

Now, just to be clear, I did not source vanilla beans from Uganda to make this ice cream, even though Jeni's description of them--complex and smoky, with prominent notes of honey, jasmine, ylang-ylang, and amber (p 145)--is quite appealing . Maybe I will go on an online ordering spree at some point and snatch up all the exotic ingredients necessary to take me to the highest level of ice-cream nirvana. But for this experiment I was content using whatever beans Costco had in stock, as I was relatively certain any subtle Ugandan nuances would be obscured by the onslaught of Oreos anyway.

The following recipe is excerpted with permission from Jeni's Splendid Ice Creams at Home. My notes are in blue.


Ugandan Vanilla Bean Ice Cream
2 cups whole milk
1 tablespoon plus 1 teaspoon cornstarch
1 1/2 ounces (3 tablespoons) cream cheese, softened
1/8 teaspoon fine sea salt
1 1/4 cups heavy cream
2/3 cup sugar
2 tablespoons light corn syrup
1 vanilla bean, split, seeds scraped out, seeds and bean reserved
For my Cookies and Cream variation you'll need 12 or so Homemade Oreos, pulsed into coarse crumbles and crumbs in the food processor or zipped in a gallon-sized bag and smashed to crumbles with a rolling pin or wooden mallet. 

PREP Mix about 2 tablespoons of the milk with the cornstarch in a small bowl to make a smooth slurry. Whisk the cream cheese and salt in a medium bowl until smooth. If you have trouble whisking the cream cheese, microwave it for about 10 seconds to soften it a bit more. Fill a large bowl with ice and water.

COOK Combine the remaining milk, the cream, sugar, and corn syrup, and vanilla seeds and bean in a 4-quart saucepan, bring to a rolling boil over medium-high heat and boil for 4 minutes. Remove from the heat, and gradually whisk in the cornstarch slurry. Bring the mixture back to a boil over medium-high heat and cook, stirring with a heatproof spatula, until slightly thickened, about 1 minute. Remove from the heat.

CHILL Gradually whisk the hot milk mixture into the cream cheese until smooth. 
Gradually is the key word--if you add it all at once, it will be very difficult to get out all the lumps. Speaking of lumps, I like to strain my mixture into a clean bowl at this point, just to make sure the ice cream will be silky-smooth. Use a spatula to help work the mixture through the strainer.


Pour the mixture into a 1-gallon Ziploc freezer bag and submerge the sealed bag in the ice bath. Let stand, adding more ice as necessary, until cold, about 30 minutes. I generally make the mixture the day before I want to freeze the ice cream so it can chill thoroughly in the fridge overnight.

FREEZE Pour the ice cream base into the frozen canister and spin until thick and creamy. For best results, always freeze the canister for AT LEAST 24 hours before using.

NOTE: For my Cookies and Cream variation, I added my Homemade Oreo crumbles right into the opening of the ice cream machine in the last moments of spinning, once the ice cream was thick and creamy, just before I turned off the machine.

Pack the ice cream into a storage container, press a sheet of parchment directly against the surface, and seal with an airtight lid. The parchment is awesome at helping to prevent freezer burn. Every time you scoop out ice-cream, be sure to press the parchment back down over the remaining ice cream to help keep it tasty. Freeze in the coldest part of your freezer until firm, at least 4 hours.

Makes about 1 quart (or a generous quart of Cookies and Cream). 

Excerpted from Jeni’s Splendid Ice Creams at Home by Jeni Britton Bauer (Artisan Books). Copyright 2011.


Thanks for reading! Here's to Being the Secret Ingredient in your life.

Tuesday, October 16, 2012

Homemade Oreos


The Setting: On again, off again blue skies and rain.

The Soundtrack: The Wire.

Steaming up the Oven: Nothing yet...but I'm hungry.

The Scenario: What's black and white and delicious all over?

Grocery shopping a few weeks ago, I came scarily close to plopping a package of Double Stuf Oreos in my cart--a very strange occurrance in my typical "only if it's all-natural" world. But the end-cap display was so appealing, the doubly-stuffed cream between the dark, chocolaty wafers was practically reaching through the plastic packaging and gripping my hand, chanting, "You know you want me."

My hand was set free only by the memory of my last junk-food-induced stomach ache and sugar crash--much in the same way a crippling hangover one weekend will curb a college student's drinking the next. Oreos in my cart today would mean an empty package of Oreos by the morning.

No, I thought. If I'm going to binge on Oreos, I'm going to work for it.

I made a mental note to move Homemade Oreos up a few spots on the recipes-to-develop queue and went about my shopping.

A few days later I was following through with a long-awaited plan to make another addictive childhood treat: Oatmeal Creme Pies.

I was delighted with the way they came out, but I ended up with far more filling than I needed for one batch of cookies.

As I fashioned the remaining filling into a log and wrapped it in plastic wrap for safe-keeping, a light went off. This filling would be perfect for Oreos!

The next day I set to work on a chocolate wafer recipe.

The requirements were these:
  1. The dough must be dark--like, black.
  2. The dough must be easy to roll out.
  3. The cookies must not spread during baking.
  4. The cookies must be crisp--not cakey, not chewy--but also not too brittle or rock-like.
  5. (In summation) The cookies must look as much like, taste as much like, and have as similar a texture to Oreos as possible.
I figured a combination of baking chocolate and cocoa would deliver the best chocolate flavor, color, and texture.

Generally, I prefer natural cocoa to Dutch-process cocoa, which has been treated with alkali to soften the acidity. The thing is, natural cocoa is a lighter, rosier shade of brown, while "Dutched" cocoa is the deep, dark color of devil's-food-cake mix. And I needed dark. Also, I had a feeling the flavor of the alkali-softened cocoa would better approximate the packaged, processed cookies.

To get the best of both worlds, I used Hershey's Special Dark cocoa, which is a blend of natural and Dutched cocoa powders.

To make sure my dough would roll out well and resist spreading in the oven (and that the baked cookies would have the proper crunch), I took a cue from my Homemade Graham Crackers and the Golden Cookies from my Homemade MoonPies. In both these recipes, a large proportion of flour and minimal leaveners help keep spread in check so that the small, flat disks you put in the oven are equally small and flat when you take them out.


Homemade Oreos
While the filling for the Oreos is the same as the filling for the Oatmeal Creme Pies in the last post, here the filling is shaped into a log and sliced into rounds instead of piped onto the cookies.

~for the cookies~
2 1/4 cups all-purpose flour
3/4 cup unsweetened cocoa (preferably a blend of Dutched and natural cocoas such as Hershey's Special Dark)
1/2 tsp fine-grain salt
1/4 tsp baking soda
2 sticks (1 cup) unsalted butter
2/3 cup granulated sugar
3 T corn syrup
2 oz semisweet baking chocolate (I used Baker's), finely chopped, melted, and cooled (but still pourable)
1 tsp pure vanilla extract

~for the filling~
1 stick (1/2 cup, or 8 T) unsalted butter
pinch salt
3 T refined coconut oil, cool room temperature (solid but soft)
1 tsp pure vanilla extract
2 1/2 cups powdered sugar
1 cup white "chocolate" chips, melted and cooled but still pourable (I used Nestle)

Preheat oven to 350 degrees F. Position a rack in the center of the oven.

In a medium-sized bowl, whisk together the flour, cocoa, salt, and baking soda. Set aside.

Beat the butter and sugar together until light and fluffy. Beat in the corn syrup, chocolate, and vanilla until smooth. Add the flour mixture, beating on low speed until fully incorporated. The dough should be firm, black and malleable.

Turn the dough out onto parchment paper and divide in half.

Note: At this point you can refrigerate one or both of the halves for up to 5 days if desired. If refrigerating, flatten the dough into a disk approximately 2 inches thick (this will make it much easier to roll out when you are ready to use it). Wrap the flattened disk tightly in plastic wrap and refrigerate. Remove the dough from the fridge 20 minutes before you are ready to roll it out.

Working with one half (or disk) of the dough at a time, sandwich the dough between two baking-sheet-sized sheets of parchment paper and use a rolling pin to roll out the dough to a thickness of about 1/4 inch between the sheets. Remove the top sheet of parchment and use the cardboard cylinder from a roll of paper towels to cut out perfect, Oreo-sized cookies.

Carefully lift up the excess dough, leaving the circles on the parchment.


If desired, use a toothpick or the tip of a paring knife to create designs (such as family initials) on the cookies.


Transfer the parchment with the dough rounds to a baking sheet and bake at 350 degrees F for 12 minutes. Let cookies cool on the baking sheet for 3-5 minutes before transferring to a cooling rack to cool completely.


Re-roll dough scraps and repeat, using fresh sheets of parchment as needed. Repeat whole process with remaining half of dough.


To prepare the filling, beat the cold butter along with a pinch of salt until smooth. Add the coconut oil and vanilla, beating just to combine. Add the powdered sugar and beat till well-mixed. Beat in the melted white chocolate. The mixture should be thick, white, and almost dough-like.


Turn the filling out onto a sheet of parchment paper and shape into a log.

Roll the filling into a log the thickness of the cardboard paper-towel roll.

Place a long string of unflavored dental floss under the log, about 1/4-inch back. Crisscross the floss over the top of the log and pull, slicing a 1/4-inch thick round of filling.


Place the filling round on a cooled cookie, top with another cookie, and press very gently to adhere.


Repeat with remaining cookies and filling.


Makes about 40 sandwich cookies.


Thanks for reading! Here's to Being the Secret Ingredient in your life.