Showing posts with label breakfast. Show all posts

Sunday, April 14, 2013

Orange-Biscoff Crumm Cake


The Setting: April showers.

The Soundtrack: The Fox and the Hound. I wouldn't say we've completely moved on from Lady and the Tramp, but we're trying something new.

Steaming up the Oven: Homemade hamburger buns. That's right, it's burger night! Elastic-waisted pants are in order.

The Scenario: Biscoff Mania continues!

If Biscoff Mania means nothing to you, don't feel bad; the "mania" of Biscoff-inspired recipes I had originally planned back in May has been less of a torrent and more of a (nearly yearlong) trickle. What can I say? Things happen. Nevertheless, here's what you've missed:

Sky-High Milk Chocolate Bark

Mini Orange-Biscoff Cheesecakes
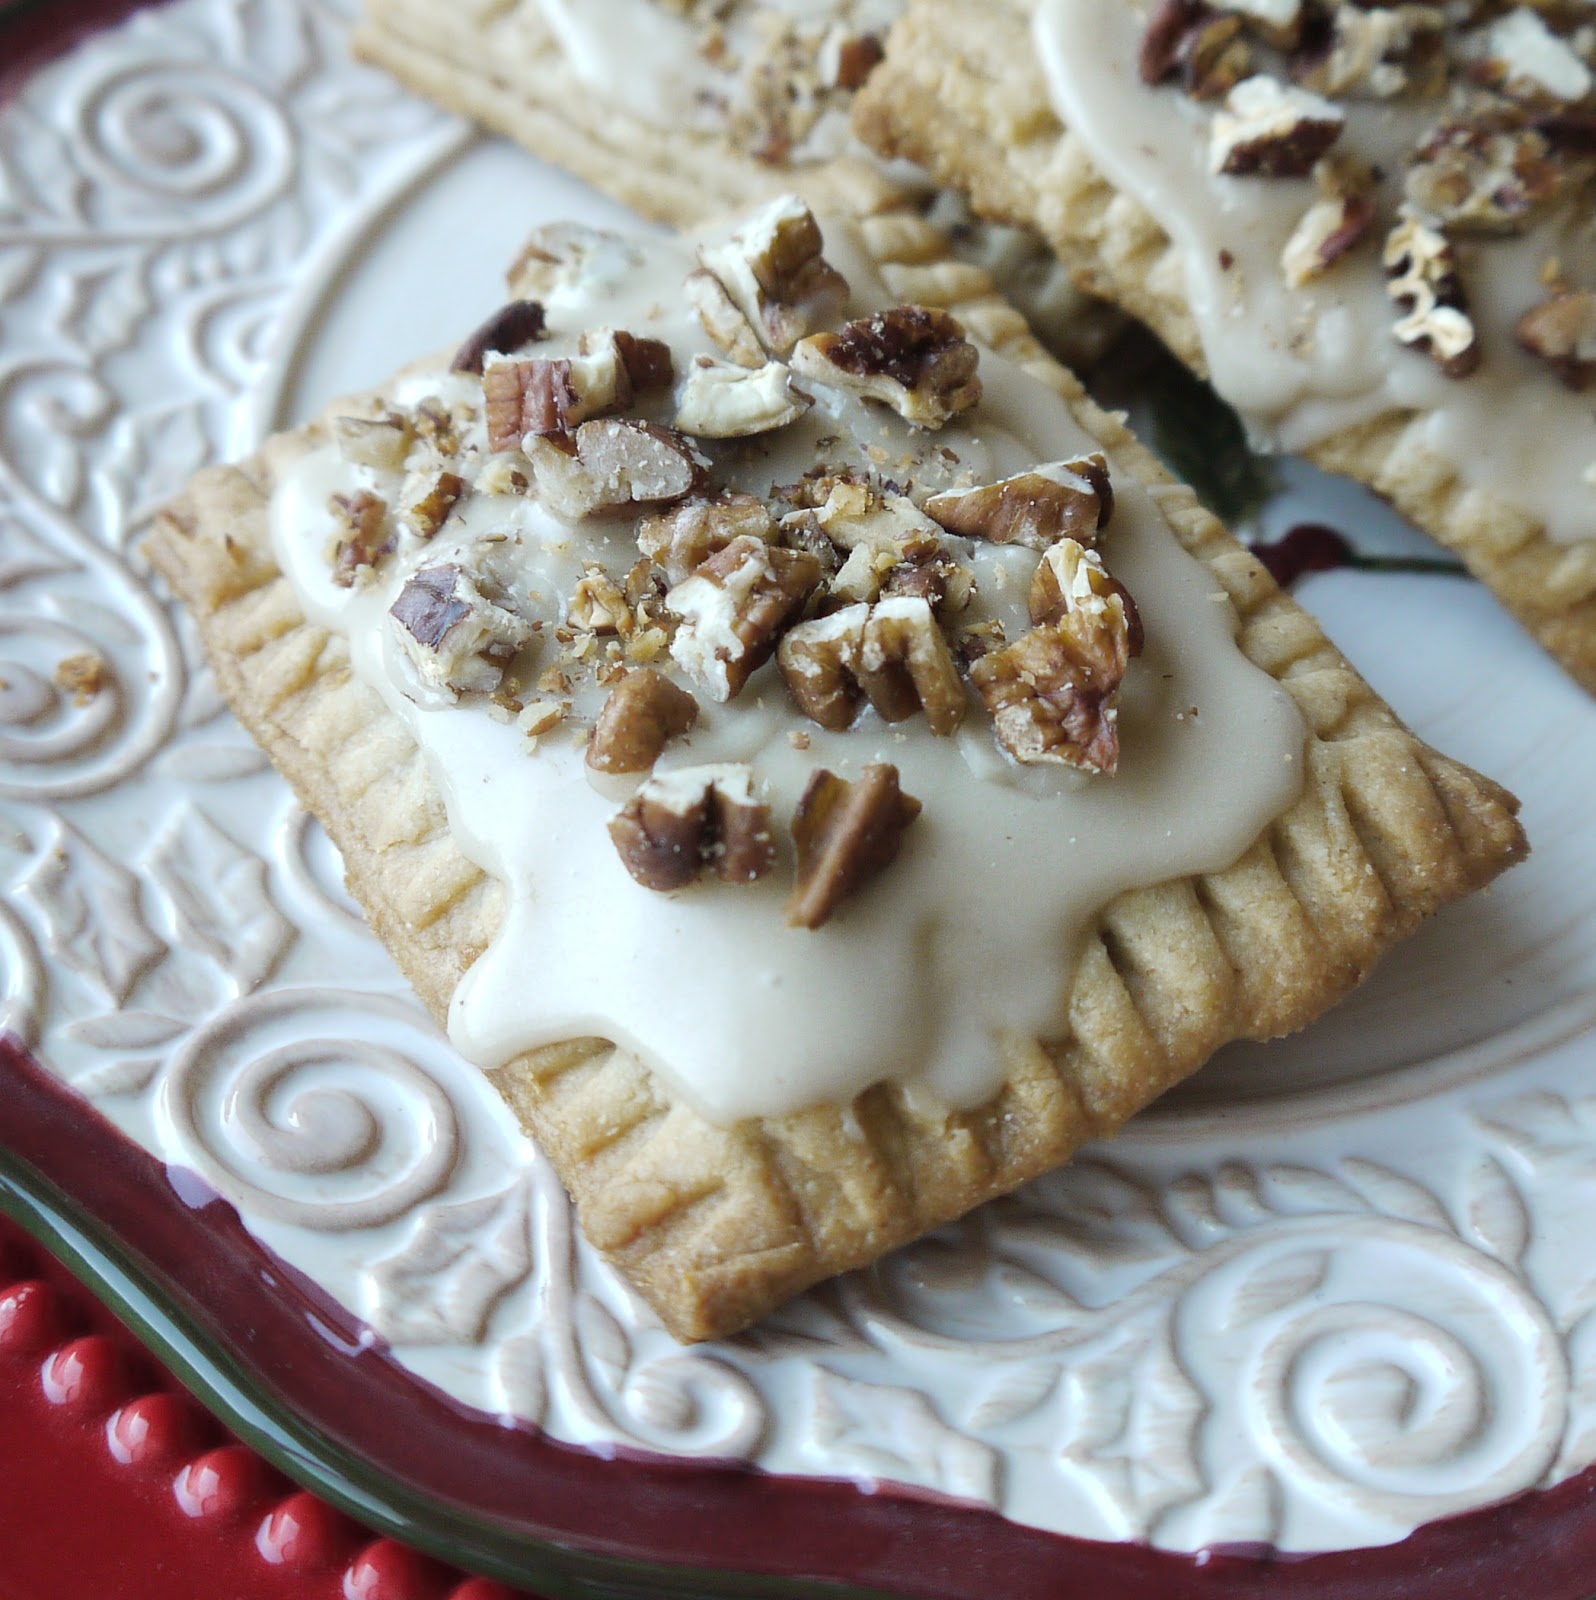
Biscoli

Despite the--shall we say--dearth of recipes listed above, my mammoth supply of Biscoff cookies is almost gone! Some became Hoosband prey--armed with a container of Nutella, that guy is dangerous--and MANY received their higher calling as part of the above-mentioned Biscoli, a dessert so good I had to make it on several occasions (I mean, Biscoff cookies meet cannoli filling--how could you not want to eat that everyday?).

Today we take the crispy wafers to uncharted territories, as they become both topping and flavoring in crumb cake--er, Crumm cake (with a name like Crumm, how could I not?).

With its tender, moist texture, crunchy crumb topping, and dual status as breakfast and dessert, this forth contender in the Biscoff-Mania games just might give Biscoli a run for its cookies.

But I'll let you decide.

Note: While I think the flavor is rather spectacular as-is, Hoosband thinks the orange aspect could have been punched up a bit more and likes to eat his cake with some extra orange marmalade on the side.


Orange-Biscoff Crumm Cake

~for the crumb topping~
1 (8.8 oz) package Biscoff cookies
2 T brown sugar
1 stick cold, unsalted butter, cut into 1-inch pieces

Place the cookies in a food processor and process into crumbs.


Remove 1/2 cup of the crumbs and set aside to use in the cake batter.


To the crumbs that remain in the processor, add the brown sugar and butter and process or pulse until the butter has been fairly well distributed and a few 1/2-inch-or-so chunks of butter remain. Set aside until ready to use.

~for the cake~
1/2 cup reserved Biscoff crumbs
2 1/3 cups cake flour
1 tsp fine salt
1/2 tsp baking soda
1 1/2 tsp baking powder
1 stick butter, softened
1 the seeds of vanilla bean (split the pod longways and scrape the seeds out of each half with the blunt edge of a paring knife)
1/4 cup granulated sugar
1/4 cup vegetable oil
1 cup orange marmalade (preferably one made with actual sugar and no funky stuff)
3 large eggs
3/4 cup buttermilk

Preheat the oven to 325 degrees Fahrenheit and butter a 9-by-13-by-3-inch baking pan

In a medium-sized bowl, whisk together the reserved cookie crumbs, the flour, salt, baking soda, and baking powder. Set aside.


In the bowl of an electric mixer, beat together the butter, vanilla seeds, sugar, oil, and marmalade until light and fluffy, scraping down the bowl as necessary Add the eggs one at a time, beating well to incorporate fully after each addition.


Add about one third of the flour mixture, beating on low just to incorporate.

Add half of the buttermilk, again beating on low just to incorporate. Scrape down the sides of the bowl if needed, and repeat with another third of the flour mixture, followed by the rest of the buttermilk and then the final third of the flour mixture.


Spread the mixture evenly into the prepared pan, and spread the crumb topping evenly over the top.


Bake at 325 degrees Fahrenheit for 50 minutes or until a skewer inserted into the center of the cake comes out clean or with just a few moist crumbs clinging to it. Place the pan over a cooling rack for better air circulation, and allow to cool for at least 20 minutes before slicing.


This cake can be stored, tightly covered, at room temperature for up to five days, but it will be best in the first day or two.


Thanks for reading! Here's to Being the Secret Ingredient in your life.

Wednesday, December 19, 2012

Apple Butter Poptarts with Maple Glaze and Toasted Pecans


The Setting: Casa de mi madre.

The Soundtrack: "Milk! Milk! Up! Up!" and other baby babbles.

Steaming up the Oven: Nothing yet.

The Scenario: It's beginning to look a lot like breakfast.

In the event you're looking for something special to serve up Christmas morning, here's a festive spin on a childhood favorite, sure to please young and old alike.

With a light, flaky, butter crust, a filling made of spiced apple butter, cream cheese, and pecans, and a sweet maple glaze, these homemade poptarts are happy holidays in a pretty, pastry package.


Apple Butter Poptarts
1 recipe Butter Crust dough (using whole-wheat pastry flour, if desired)
1 cup apple butter
2 oz cream cheese
1/2 cup pecan halves
2 tsp cornstarch

~for the maple glaze~
1 T butter
1/4 cup pure maple syrup
1/2 tsp pure vanilla extract
2/3 cup powdered sugar
1/2 cup chopped pecans, for garnish

Place the apple butter, cream cheese, pecan halves, and cornstarch in a food processor and process till completely smooth. Set aside. The filling can be made up to a week in advance and stored in an airtight container in the fridge until 30 minutes before use. Excess filling can be added to oatmeal or used as a filling for stuffed French toast.


Preheat the oven to 350 degrees F. Roll out the dough to a thickness of about 1/8-inch. Use a pizza cutter to trim the dough into a rectangle, using a ruler or tape measure to help divide into even, 2x3-inch rectangles.


Spread a heaping tablespoon of filling over half of the rectangles, leaving a 1/4-inch border.


Place a naked rectangle on top of each filled rectangle.


Use the tines of a fork to crimp and seal the edges.


Poke a few rows of holes in the tops of the tarts with the fork to create a steam release.

Re-roll and repeat with dough scraps.


Carefully transfer the tarts to a parchment-lined baking sheet and bake at 350 degrees F for 17 minutes or baked through and just golden around the edges.

Let cool a minute or two on the baking sheet; then carefully transfer to a cooling rack to cool completely. Tarts may be prepared ahead of time up to this point and frozen for up to one month if desired. Before freezing, wrap very well in plastic wrap and then aluminum foil. To defrost, leave out at room temperature, still wrapped, for 3-4 hours or until thawed.


Toast the chopped pecans in a dry skillet over medium heat just until fragrant, being careful not to burn. Set aside.

To prepare the glaze, melt the butter in a microwave-safe bowl or Pyrex measuring cup. Whisk in the remaining ingredients until smooth. Use a spoon to spread the glaze over the tarts, sprinkling each tart with the toasted pecans as you go (if you wait until they are all glazed, the pecans won't adhere as well). To reduce mess, you can place the cooling rack over a sheet of aluminum foil or the baking sheet lined with parchment before glazing.


Let the glaze set for a few minutes before trying to stack or layer on a platter.


Store leftovers tightly wrapped at room temperature. Best consumed within two days, with a room full of loved ones and a side of holiday cheer.

Makes about 12 breakfast pastries.


Note: For another festive alternative, make Pumpkin Pecan Poptarts by swapping out the apple butter with 1 cup pumpkin puree, plus 1/4 cup brown sugar, 1 tsp cinnamon, and 1/4 tsp 5-spice powder (optional).

Thanks for reading! Here's to Being the Secret Ingredient in your life.

Friday, January 27, 2012

Bacon and Eggs Pizza


The Setting: There are streaks of blue vying for space amidst the clouds and birds merrily chirping outside my window. Did I wake up in a Disney movie...or better yet...Spring?

The Soundtrack: The lovely avian Disney extras.

Steaming up the (microwave) Oven: Water for hot tea, Country Peach Passion to be precise.

The Scenario: There are two things I learned in college that are more useful to me now than my bachelor degree.

1) Breakfast makes a great dinner.

2) Pizza makes a great breakfast.

This pizza is proof of both.

A simple homemade pizza dough (though you could easily substitute store-bought) is slathered with a creamy green-chili-pepper sauce and then crowned with scrambled eggs, cheddar cheese, and bacon.

You don't need a degree to know that's gonna be good.


Morgan's Pizza Dough
10 oz bread flour
1 tsp active dry yeast
1 T olive oil, plus more for coating bowl
1 T honey
6 oz warm water
1 tsp kosher salt

Using the paddle attachment of an electric mixer, combine flour and yeast.

Add oil, honey, and warm water, mixing just until dough comes together.

Switch to the dough hook, add salt, and knead on medium-to-med-high speed (6 on a KitchenAid) for six minutes or till stretchy, smooth, and pliable.

Transfer dough to large bowl coated with olive oil, cover with plastic wrap, and let rise at room temperature for 90 minutes or till doubled in size.

Lift up the edges of the dough all the way around and tuck back under, gently releasing some of the gas that has built up. Cover and allow to rest for another 90 minutes.

Using a rolling pin, roll to desired shape and thickness (I like to do this on a Silpat or parchment paper). Transfer to a baking sheet or pizza pan dusted with coarse cornmeal.

Creamy Green-Chili-Pepper Sauce
7 oz plain Greek yogurt (I use Fage 2%)
1 whole (everything but the stem) fresh spicy banana pepper (or green chili pepper of your preference)
1/2 tsp kosher salt
1/4 tsp freshly cracked black pepper

Place all sauce ingredients in a blender and process till smooth.

Spread evenly over pizza dough in pan.


Bacon and Eggs
3 slices raw bacon, diced
3 large eggs
1/2 tsp kosher salt
1/4 tsp freshly cracked black pepper
1/4 tsp granulated garlic
3/4 cup shredded sharp cheddar cheese

Preheat oven to 425 degrees F.

Fry bacon in a small nonstick skillet till fat has rendered out and bacon is fully cooked but not overly crispy. Carefully transfer bacon to a small cup or bowl and set aside, retaining as much of the fat in the skillet as possible.

Add the eggs, salt, pepper, and garlic to the skillet and cook gently over med-low heat, immediately stirring to break up the yolks and scramble the eggs. Continuing to stir, cook until the eggs are mostly opaque but still very wet, 2-3 minutes. Let sit off the heat for 1 minute.

Drop small clumps of egg evenly over the green chili sauce. Sprinkle cheese evenly over the top and follow with the bacon.

Bake at 425 degrees F for 20 minutes or till crust and cheese are golden and bubbly.


Thanks for reading! Here's to Being the Secret Ingredient in your life!

Wednesday, February 16, 2011

A Work in Progress

The Setting: Waiting for Hoosband to get home from work, debating going out or staying in for dinner.

The Soundtrack: Laundry whipping and whishing around in the dryer.

Steaming up the Oven: Nothing now, but the sweet, yeasty aroma of homemade cinnamon rolls lingers in the apartment and tempts me to polish off the pan.

The Scenario: I've been trying to nail down my cinnamon roll recipe since high school.

But every time I think I've got a winner, I forget to write down an all-important detail, or I mess something up along the way, or I throw in a new twist that changes up the recipe.

Last night would be no different.

I pulled up my most recent recorded effort on my computer and hit Print.

I was going to follow this road map to the last bend in the driveway.

But why had I not made these with whole wheat flour? I wondered.

And why not brown sugar instead of white? Granted, there's no significant health difference, but the brown sugar would add a touch of moisture, and darnit, I just love the flavor.

This time I'd use yummy Irish butter instead of a mixture of butter and shortening, I'd throw some Cypress flake salt into the filling, and I'd swap the milk and vanilla in the icing for vanilla almond milk (Hoosband said the gallon of the bovine variety in the fridge had taken on a hint of a smell, and I figured I'd take his word on it).

Simple changes, right? No big deal.

I like to make my cinnamon rolls out of a preferment dough so they have a hint of a sourdough quality. So I mixed together yeast, whole-wheat pastry flour, and warm water and let it brew and bubble for an hour.

Then I realized I'd left out the sugar.

No worries, I'd just throw it in there now with the remaining ingredients. I'd switch to regular whole-wheat flour, as I had run out of the pastry version, and on with the show!

But my dough was abnormally wet. Like batter. So I reached for the all-purpose flour--no good reason for the switch this time--and added 1/4 cup. And then 4 more. The dough was still pretty sticky, but I come from the school of add only as much flour as absolutely necessary, and enough was enough.

Handling the dough after the first rise, I smiled to think how patient, accepting, and almost motherly I had become with my baking. Working with doughs like this as a child and teen frustrated me to no end. The recipes always made it sound so easy, like any diva from the street could just flop her dough onto the counter and effortlessly have her way with it, her flawless French manicure no worse for the wear, whereas I looked more like a pitiful preschooler, elbow-deep in paste, eyes brimming with tears at my inadequacy. Several times I washed more dough down the sink than I put into the pan.

Looking back, I'm actually surprised I kept at it.

But now, I see the dough for the tender or crusty beauty that will be born from the potential sticky mess in my hands, and I handle it with care.

Maybe my maternal instincts really are kicking in...which is good with a baby on the way.

I just hope my kid likes cinnamon rolls.

Brown-Sugar Whole-Wheat Cinnamon Rolls
This is not a very finely tuned recipe, it's a work in progress. Using three different flours, for instance, might not make the most sense, but I say why ask why when you could just ask for seconds? The results were pretty darn fantastic.

For the Dough:
1 cup whole wheat pastry flour
1 T active dry yeast
1 1/2 cups warm water
1 cup brown sugar
2 2/3 cups whole wheat flour
1 1/4 cup all-purpose flour (you may need less in low-humidity)
1 large egg, lightly beaten
1 T pure vanilla extract
1/2 cup butter, cut into small pieces, room temperature
1 tsp salt

For the Filling:
1/4 cup cold butter, chopped into pieces
1 T cinnamon
2/3 cup brown sugar
1 tsp Cypress flake salt

For the Icing:
1 cup powdered sugar
3 T unsweetened vanilla almond milk

1. In the bowl of an electric mixer, gently combine the whole wheat pastry flour, yeast, and warm water. Cover and let rest at room temp for 60 minutes.

2. The yeast mixture should be bubbly and somewhat increased in volume. Add the brown sugar, egg, vanilla, whole wheat flour, and salt. Mix on low speed with the paddle attachment until a wet dough forms. With mixer on, add butter a few pieces at a time till just incorporated. Add all-purpose flour 1/4 cup at a time, continuing to beat on low till blended. Switch to dough hook attachment and knead on medium speed for 5 minutes.

3. Transfer dough to a large, well greased bowl, cover, and let rest at room temperature for 45 minutes or until doubled in size.

4. Gently lift up sides of dough and fold under to release the gas that has been trapped during fermentation ). Cover and set aside.

5. Using a pastry cutter or two forks, combine filling ingredients till crumbly and evenly distributed.

6. Butter two 8-inch round cake pans. Divide dough in half. With floured hands and working over a silicone mat or lightly floured surface, shape each half into a rectangle, about 1/4-inch thick. Sprinkle filling mixture evenly over the two rectangles. Gently roll each rectangle into a log.

7. Using about 12 inches of unflavored dental floss, cut each log into 9 wheels by sliding the floss under the log, criss-crossing the floss over the top of the log, and pulling to cut quickly and evenly. Arrange wheels in the prepared cake pans. Cover and let rise at room temp for 45 minutes or till doubled in sized.

or

Cover and refrigerate over night, remove from fridge an hour before you are ready to bake, and let come to room temperature.

I baked one pan right away to stash in the freezer for another time, and let the other rise slowly in the fridge overnight so I could surprise Hoosband with homemade cinnamon rolls for breakfast.

8. Preheat oven to 400 degrees F. Place rolls in oven, reduce heat to 375, and bake for 20 minutes or till just golden brown.

9. Combine icing ingredients till smooth and lump-free. Drizzle over hot rolls, and enjoy!

Makes 18 yummy cinnamon rolls.

Sunday, July 11, 2010

From Eze to South Florida


The Setting: A lovely day off. Blue skies. Sunshine. Breakfast.

The Soundtrack: Wealth Track with Consuelo Mack on PBS

On the Stove-top: Whole Wheat Crepes

The Scenario: Dreaming about European adventures gone by, I'm testing Belgian CocoaHaze! chocolate-hazelnut spread and hoping to recreate one of my favorite edibles from Eze, France.

Crepe stands and creperies are as abundant along the streets of Nice and the shopping malls of Bordeaux as the freckles on my face in the summer.

But it was in the historic mountain-top town of Eze that I devoured my first French crepes, from savory ham, tomato, and Gruyere to sweet Nutella and banana.

So simple, so good.

A crepe is like a hybrid of an omelette and a pancake, but thinner than either. An edible envelope of sorts, it can be tucked and folded over and around anything the palate desires.

I desire sweet. I just hope my whole-wheat attempt at healthfulness doesn't strip this dish of its structural- or taste-integrity!!


For the Crepes:
1/2 cup whole wheat flour (I use King Aurthur)
1/8 tsp cinnamon
dash freshly grated nutmeg
1/4 cup unsweetened almond milk, plain or vanilla (I use Pacific Natural Foods)
1/4 tsp salt
2 large eggs
1 T unsalted butter, melted and cooled slightly (I use Kerrygold)
1/2 tsp orange blossom honey (or local honey)
1/4 cup water
1/4 tsp baking soda
1/2 tsp white vinegar

In a food processor combine all but the last three ingredients, processing till smooth.

Allow batter to rest at least 30 minutes (you can keep it in the fridge overnight at this point if you desire).

Place a small, nonstick skillet over med-high heat (you can grease it if you desire). Combine water, baking soda, and vinegar and quickly stir into the batter.

Pour just enough batter into the pan to almost coat the bottom. Immediately pick up the pan and gently swirl the batter around to completely coat the bottom. Allow the crepes to cook about 30 seconds on each side (if you are incredibly adept, you can flip the crepes right in the pan with a jerk of your arm, but I generally rely on a little nudging from a silicone spatula to do the trick). Don't worry if your first crepe is a bust--mine always is.

For filling:
CocoaHaze! All natural Belgian hazelnut and cocoa spread
2 bananas

Gently spread a thin layer of CocoaHaze! on each crepe. Thinly slice the banana, and distribute along the centers of the crepes. Fold the edges of the crepes inward to cover the banana, and serve.

Makes about 6-8 crepes, depending on the size of your pan.


Afterthoughts:
I was incredibly happy with how my "healthier" crepes turned out. Conventional wisdom stipulates up to 1/3 of the amount of flour in a recipe can be switched out for whole-wheat four, but I have been finding more and more that white flour is unnecessary in my kitchen. I'm sure the rule holds true in some cases, but the breads, cookies, brownies, and now crepes that I have eagerly consumed in recent weeks are welcome exceptions.

Another exciting revelation: Almond Milk. I am growing more and more in love with this stuff.

Honestly, I've never been a big milk drinker--I mean, my blood-latte-level is pushing lethal limits most days of the week, but I've never enjoyed a cold glass of the white stuff with my dinner. So for my purposes, almond milk might just push the gallon jug out of the fridge. Except for making queso fresco...I think.

CocoaHaze!: And the verdict is.... Superb! Every bit as delicious as Nutella.

These crepes were the shiznit. Such a good breakfast. I only wished I had some fresh sliced strawberries to serve on the side.

Next time I'm topping with whipped cream or sweetened mascarpone for an elegant dessert. Yum!